 niner bakes

Ihr Lieben,
diese Woche geht es ja wirklich rund, was das Wetter angeht. Ich nenne es: Sehr heiß!
Ich war glaube ich eine der Wenigen, die sich über das schlechte Wetter die letzten vielen Monate nicht beschwert hat.
Außer vor 3 Wochen, auf Instagram, dort habe auch ich mich ein klein wenig dazu hinreißen lassen, den ganzen Winterhass rauszulassen :)
Es war so kalt, musste sogar meinen heiß geliebten „Schaly“ (von Mama mit Liebe gestrickt) wieder rauskramen.
Aber das war nur eine Ausnahme!
Also darf ich nun jammern: Mir ist warm :)
Für mich gehören Temperaturen über 25 Grad (oder auch Sahara-Hitze genannt) einfach in den Urlaub und nicht in die Großstadt, finde das wirklich anstrengend, besonders wenn man arbeiten muss.
Gibt es Gleichgesinnte??
Ebenfalls rund geht es heute in meiner Anleitung, die ich für euch zusammengeschustert habe:
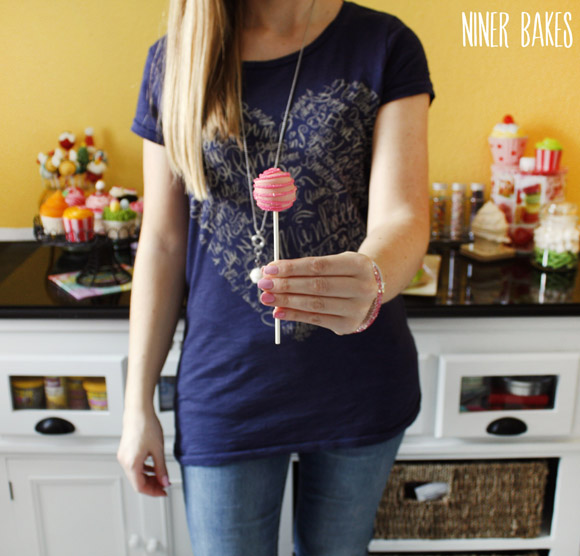
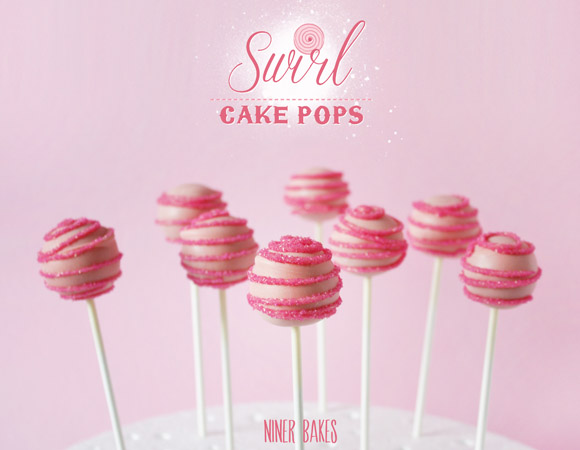
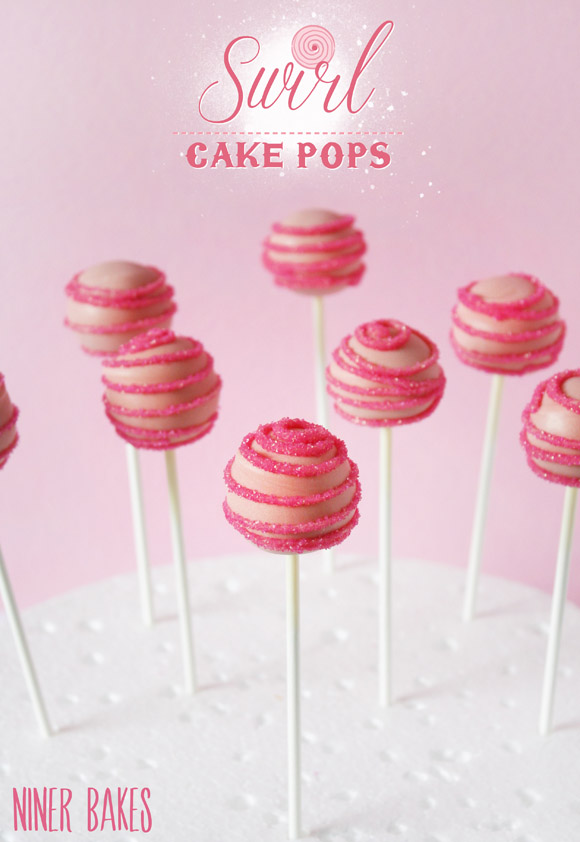
SWIRL CAKE POPS!

Viele, viele Bildchen zeigen euch, wie es geht, let’s go:
- Vorbereitungszeit 10 Minuten
- Ruhezeit in Styroporscheibe trocknen lassen
- Schwierigkeit Mittel
Für die Swirl Cake Pops:
- Bereite deine Cake Pops wie gewohnt vor (Kuchen nach Wahl) oder richte Dich nach dem folgendem Rezept ohne den Backofen anzuschmeissen (Oreo Version) – KLICK HIER
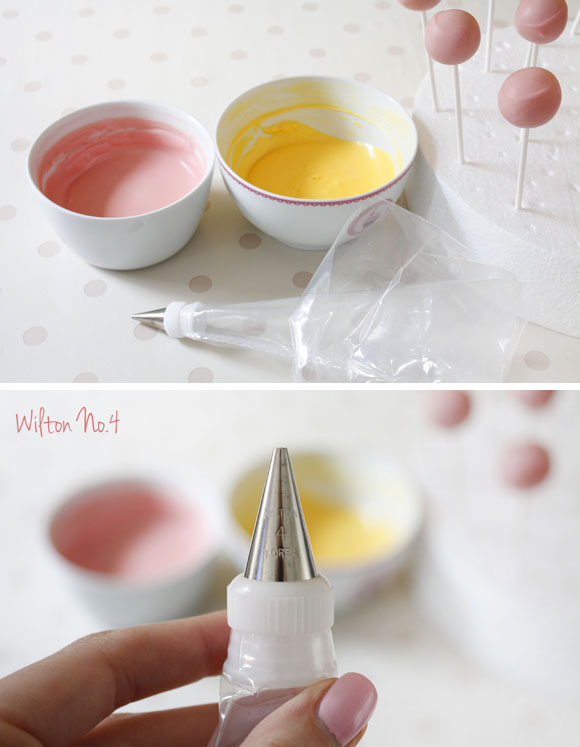
- Candy Melts in den Farben eurer Wahl
- Schale (muss für Mikrowelle geeignet sein!)
- Zuckersand
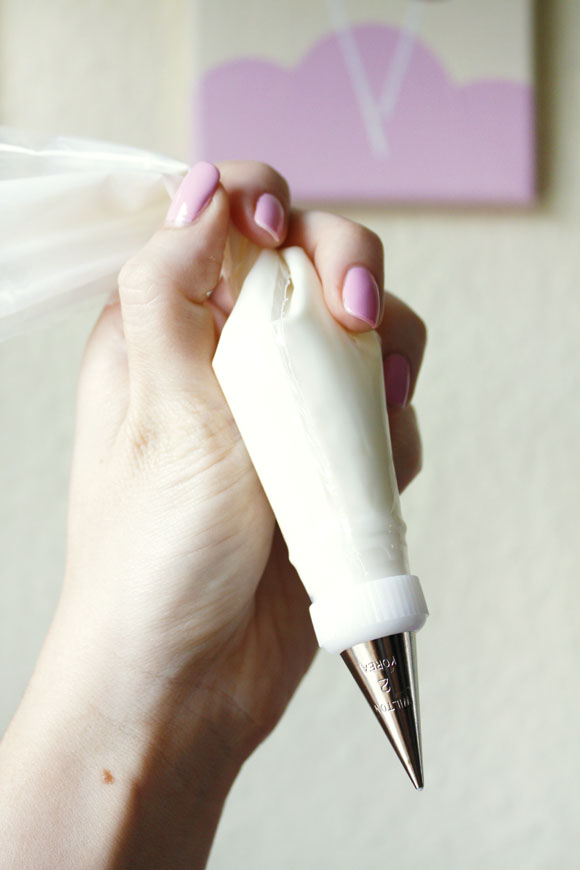
- Wilton Tüllen: Nr. 4 oder Nr. 2
- Spritzbeutel
- Styroporscheibe (so können die Cake Pops trocknen)
- Geschenktüten / Klarsichtbeutel – super zum Verschenken
- Geschenkband zum Verschnüren
Zusätzliche Produkte, zum Verpacken und Verschenken:
Info:
Bei jeglichen Problemen, die auftauchen, lest euch doch mal meinen Cake Pop Troubleshooting Guide durch, vielleicht findet ihr dort die Lösung eures Problems.
- Bevor du überhaupt richtig loslegst, bereite alles gut vor, kram alles raus was du brauchst, damit du dann in Ruhe deine Cake Pops machen und dekorieren kannst. Ohne gute Vorbereitung kann sowas ganz schön stressig werden.
- 1. Nun geht es los, die fertigen „nackten“ Cake Pops sind fertig? Dann kannst du nun deine Candy Melts in der Mikrowelle schmelzen, meist in einem 30 Sekunden Intervall.
Info: Falls die geschmolzenen Candy Melts nicht flüssig genug sind, ein klein wenig Pflanzenöl nach und nach hinzugeben – bei weiteren Problemen, die eventuell auftauchen, lies doch meinen Troubleshooting Guide. - 2. Nun die Tülle in den Spritzbeutel geben und mittels eines Löffels die geschmolzenen Candy Melts hineingeben.
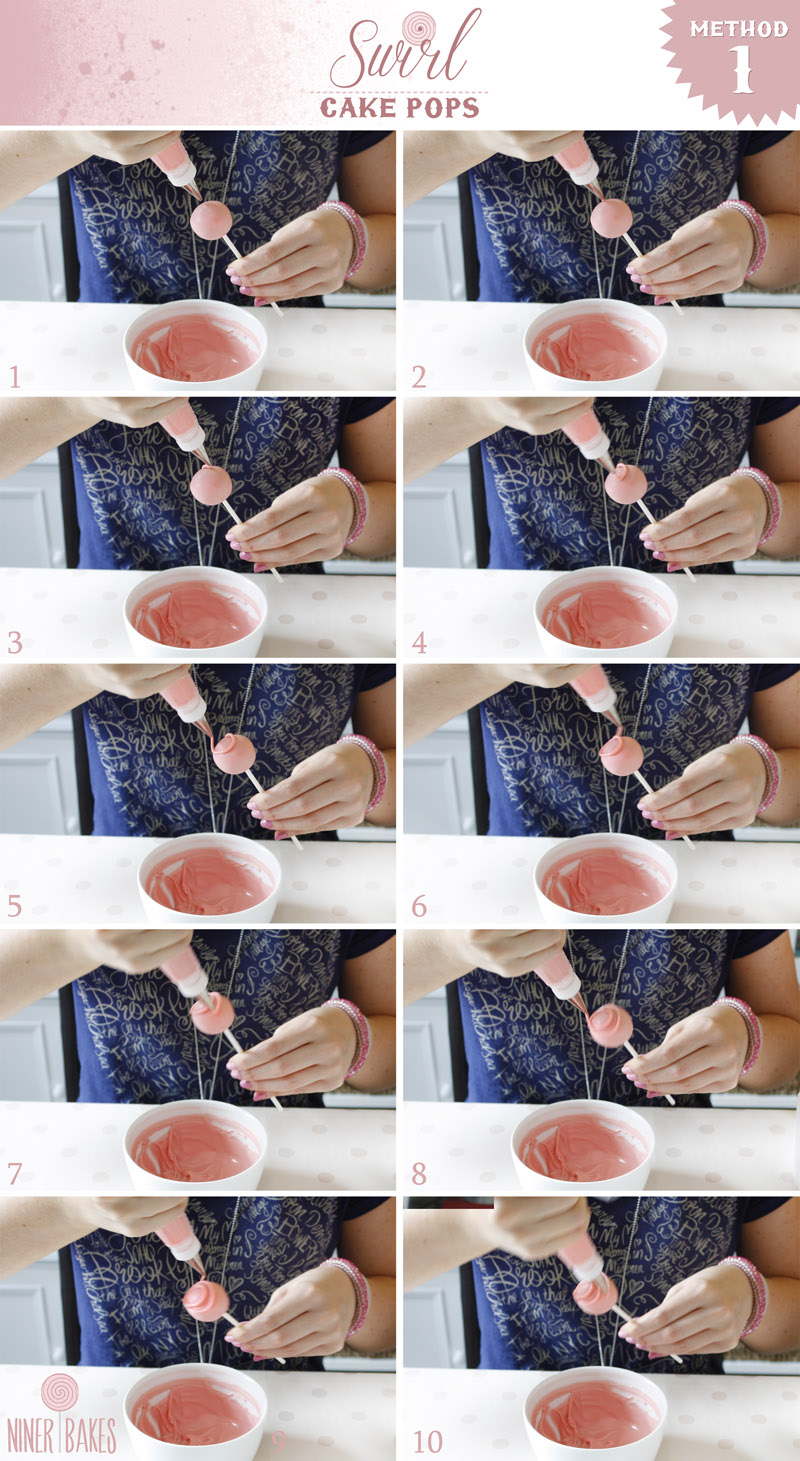
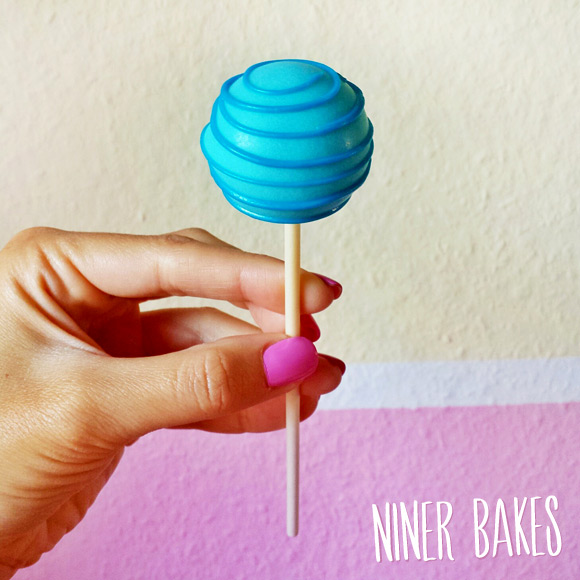
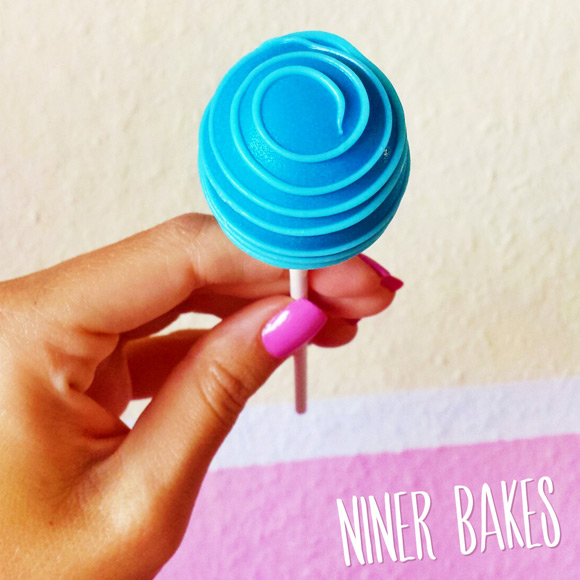
- 3. Ich variiere immer zwischen 2 Methoden, wie ich die Swirls auf die Cake Pops gebe – Nummer 1 folgt nun, wo ich direkt oben drauf in der Mitte anfange und komplett einmal um den Cake Pop gehe:
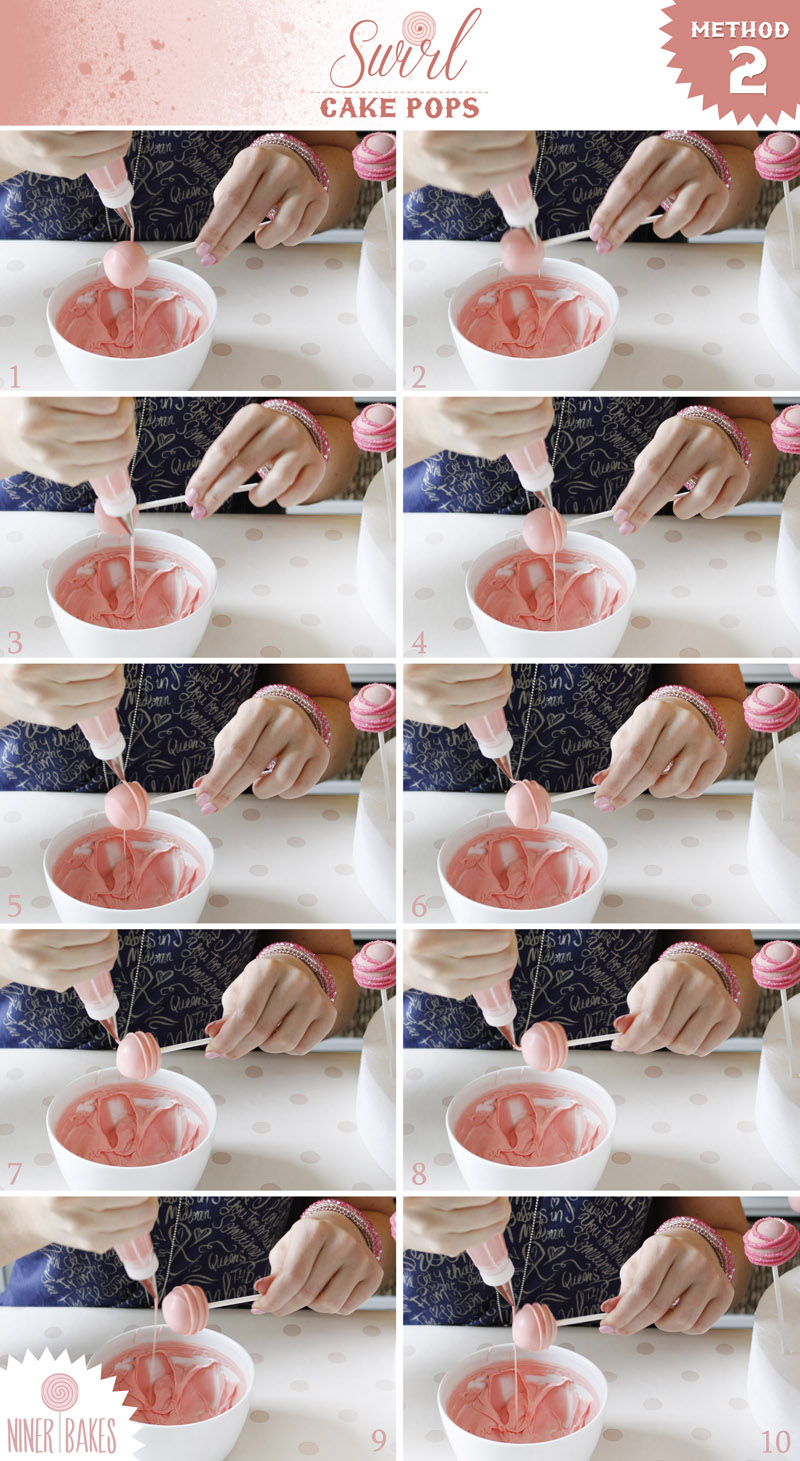
- 4. Methode Nummer 2 ist ein wenig anders. Ich ziehe nicht komplett eine Linie um den Cake Pop, sondern setze immer mal wieder ab, fange vorsichtig den Spritzbeutel an zu drücken und halte den Cake Pop dann wieder unter den Spritzbeutel und drehe ihn dabei (Cake Pop), damit auch überall feine Linien zum Vorschein kommen. Auch hierfür habe ich Schritt für Schritt Fotos für euch:
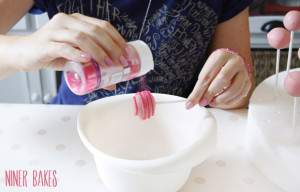
- 5. Was dann noch fehlt, und zwar wirklich schnell, da die feinen Linien Candy Melts sehr schnell trocknen: Der Zuckersand (sofern erwünscht) damit es ein wenig glitzert:
(Bei Rechtsklick auf das Bild, „Bild anzeigen“ zeigt euch eine größere Ansicht des Bildes, dies könnt ihr euch auch gern speichern!)
Ein animiertes Gif zeigt euch vielleicht noch deutlicher, wie es geht:
(Bei Rechtsklick auf das Bild, „Bild anzeigen“ zeigt euch eine größere Ansicht des Bildes, dies könnt ihr euch auch gern speichern!)
Animiertes Gif gefällig? Da erkennt man es besser:

Und fertig seid’s! :)
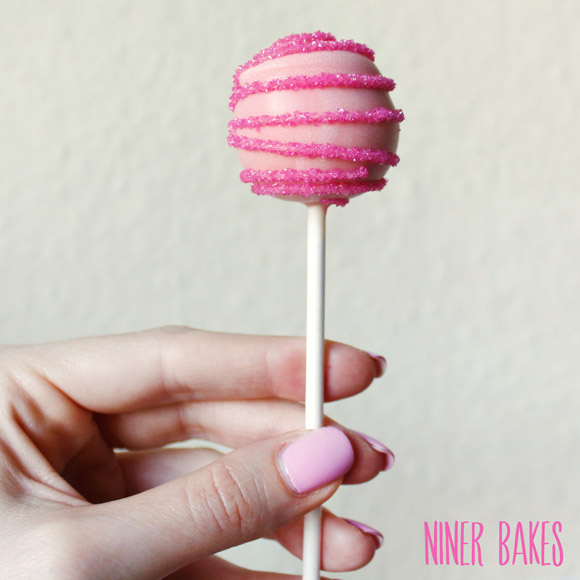
Die Swirls könnt ihr natürlich auch viel feiner machen, und ohne Zuckersand, das würde dann so aussehen:
Gerade in pink, einfach toll für den Geburtstag einer Freundin :)
Oh, es gewittert!
Juhu, da freu ich mich! ;)
Happy baking & alles Liebe,
eure niner


")


These are gorgeous, and so fun! Thanks for the tutorial!
Thanks Rachel :)
Glad you like them.
Blessings, niner
Another beautiful creation!! Thank you so much for sharing! I would like to make these for an upcoming party. How far in advance can I make these and can I keep them in the fridge until time to serve? I live in California and the weather is getting warmer…with cream cheese, I assume I can keep these refrigerated until serving time?? What is your suggestion? Thank you, Niner! I visit your blog frequently :) (p.s….people are still talking about your yummy cheesecake I made several weeks ago)
Hi Catherine, thank you!
My Oreo Cake Pops last at least 2 weeks, in the fridge is always better as well! I just made a batch on Monday that will get served on Saturday, so you are good to go to do this as well.
Thanks for trying the cheesecake, great you liked it :)
Stop by anytime, many blessings,
niner
These are so pretty, niner! I’m really lovin the animated gifs you used in the tutorial. They perfectly illustrate the techniques you use.
Janine, thank you so much!
Glad it is helpful for people, you probably would not have needed a gif, but hey, it is still nice right :)
Wish you a great day :)
Oh, isso é tão lindo! Estou apaixonada por estes cake pops! Beijos do Brasil!
Thanks for stopping by from so far away!! That is wonderful!
Beijos!!
niner
Niner, what an amazing post! I LOVE the step by step and „slideshow“ photos – perfect! It’s nice to see the swirls being made in action… I’d love to try that some day.
Marian, thank you sweetie. So nice to see your comment.
Enjoy your day.
xoxo, niner
Simply ADORABLE…like the animated gifs. How’d you do that?
Carmen
Hi Carmen, I used Photoshop for it, I use it for anything, I am a real PS nerd.
Thanks for your lovely comment!
niner
Hey!
I just now found your blog, and it’s so lovely! You make such pretty stuff.
I have a few questions –
1. Why do you use candy melts and not tempered chocolate? I can’t get candy melt where I live (there’s no shops that’s sell them, nor could I find somebody that will ship them to my country if I would by them online), so do have any suggestions to me if I use chocolate?
2. Do you stick the lollypop stick all the way through?
3. How do store them once they are done? And for how long do they last?
4. If I’ll take them with me on a 1 hour drive, should I take them in cooler container?
Thanks!
I’ll will sure be following you’re blog from now on :-)
Hi there Yael,
thanks for your comment :)
I use candy melts because to me, they taste much better than the usual chocolate I get at the grocery store. It is a matter of taste. I started with regular chocolate, but I did not like it much. So: you can use tempered chocolate!
I do not stick the stick all the way through, only half way.
I store my oreo cake pops mostly in the refrigerator since I love the taste of it when they are cool. They last at least for 1.5 weeks or longer. No guarantee though :)
For a 1 hour drive it is no problem to store them in a box but if you can cool them, that is always better (when it is really hot, if its OK outside, cooling is not necessary).
So happy I have a new follower of my blog, thank you!
Have a great day and happy cake poppin‘!
niner :)
Hi there,
Just wondering, if I choose to make them on Friday, and serve them a week from Sunday (9 days), should I refrigerate them or just keep them on the counter? I see what you said about your Oreo cake pops, but these are just regular strawberry pops. Also, would the refrigeration vs no refrigerating OR the storing time in general be different if chocolate is used instead of candy? Thank you, and sorry for all of the questions. You are so kind to take the time out of your busy life to reply to your followers, thats awesome!
-Naomi
Hi Naomi,
thanks for your kind comment. I definitely would store them in your fridge (not freezer!) until needed. 9 days is okay.
But what I cannot answer: Your chocolate vs. candy melts question. I only used candy melts so far. Please try first or risk it?!
Wishing you a happy Friday and a lovely weekend that’s ahead :)
niner
Niner they are gorg!! What do you do to rebut candy melt when it starts to harden? Thank u!!
Hi Rosie
Thank you =)
When the candy melts harden, you simply put them back in the microwave so they melt again. 30 seconds intervals :)
What about condensation, after placing in the fridge. Do you have a problem with that?
No this never happened, make sure your fridge is not too cold :) Have a great Friday! :)
What brand of sanding sugar do you use?