 niner bakes

Oh dear, this week is killing me, it is SO hot over here.
The winter (and bad weather in general) was very long this year over here in Germany, so many people complained to the fullest, on the news, on every social network I can imagine…
Even I complained 3 weeks ago, on Instagram, that I had to get my scarf “Schaly” out again.
But in general: I love the heat when I am on vacation, but certainly not in the city, when I am working.
This is really exhausting.
Any people who are with me on this one?
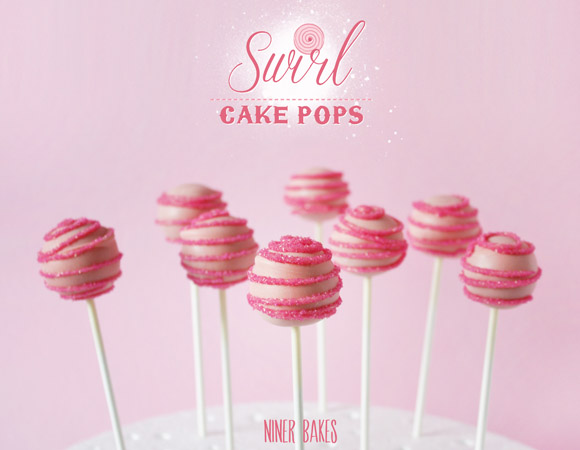
Things will go round and round here on the blog today!
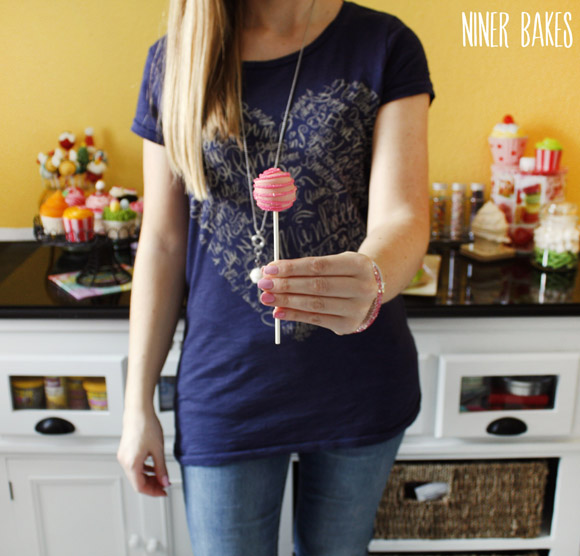
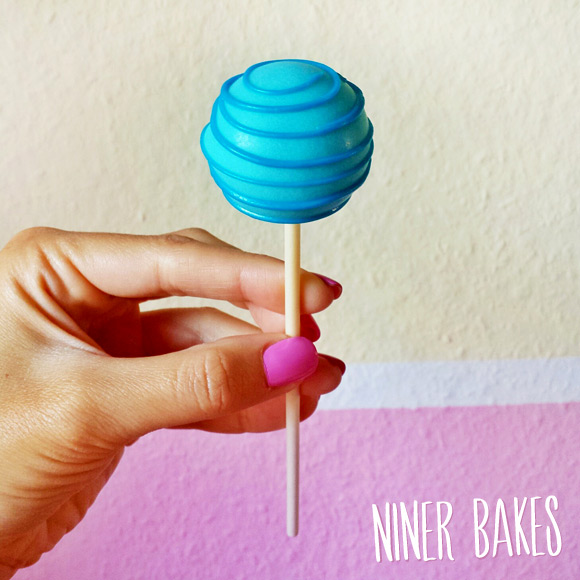
I will show you how to make Swirl Cake Pops!

Many how-to photos will hopefully make it easy for you to make these cute pops in no time!
Let’s do it:
- Prep Time 20 minutes
- Baking Time 10 minutes in freezer / 30min in refrigerator
- Difficulty Easy
For the Cake Pops:
- Ready made Cake Pops – if you need a recipe and a visual tutorial, click here.
- microwave safe bowl
- Candy Melts of your choice
- sanding sugar
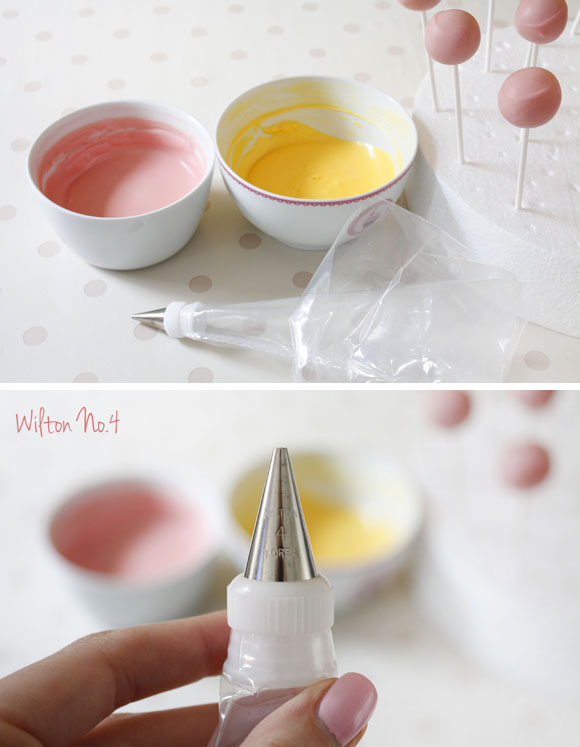
- Wilton Decorating Tips:
Wilton Decorating Round Icing Tip #4 or Icing Tip #2 - Icing/Pastry Bags
- styrofoam block for cake pops to dry
- Lollipop plastic covers
- ribbon for tying
Additional Items you may want to get:
Note:
If problems occur while making cake pops, please read my Cake Pops 101 Troubleshooting Guide – maybe you’ll find the answer to your problem!
- Prepare yourself before you actually start.
Get everything out on the counter you need, so you do not stress yourself in the middle of the decorating process. - 1. Now melt your candy wafers in your microwave in 30 seconds intervals.
- 2. Now add the Wilton tip to your icing bag and fill it with melted candy melts.
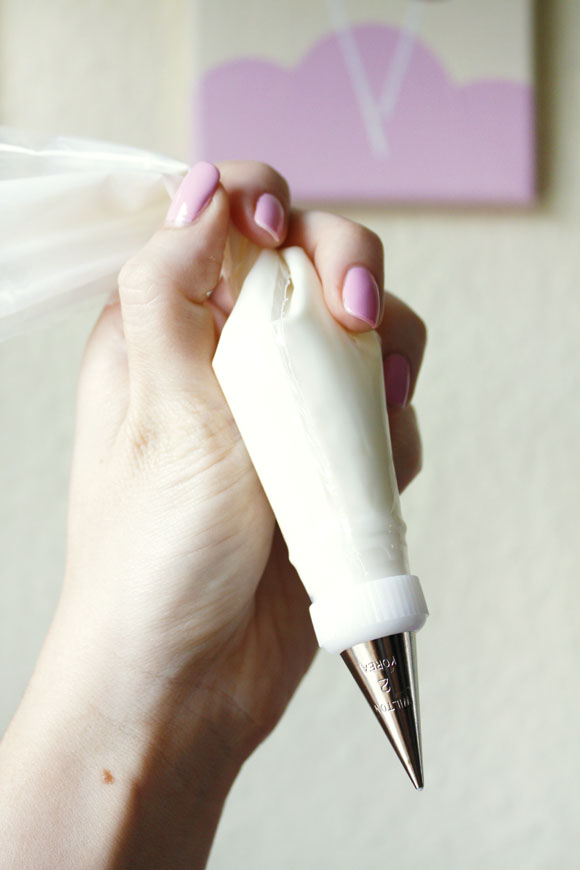
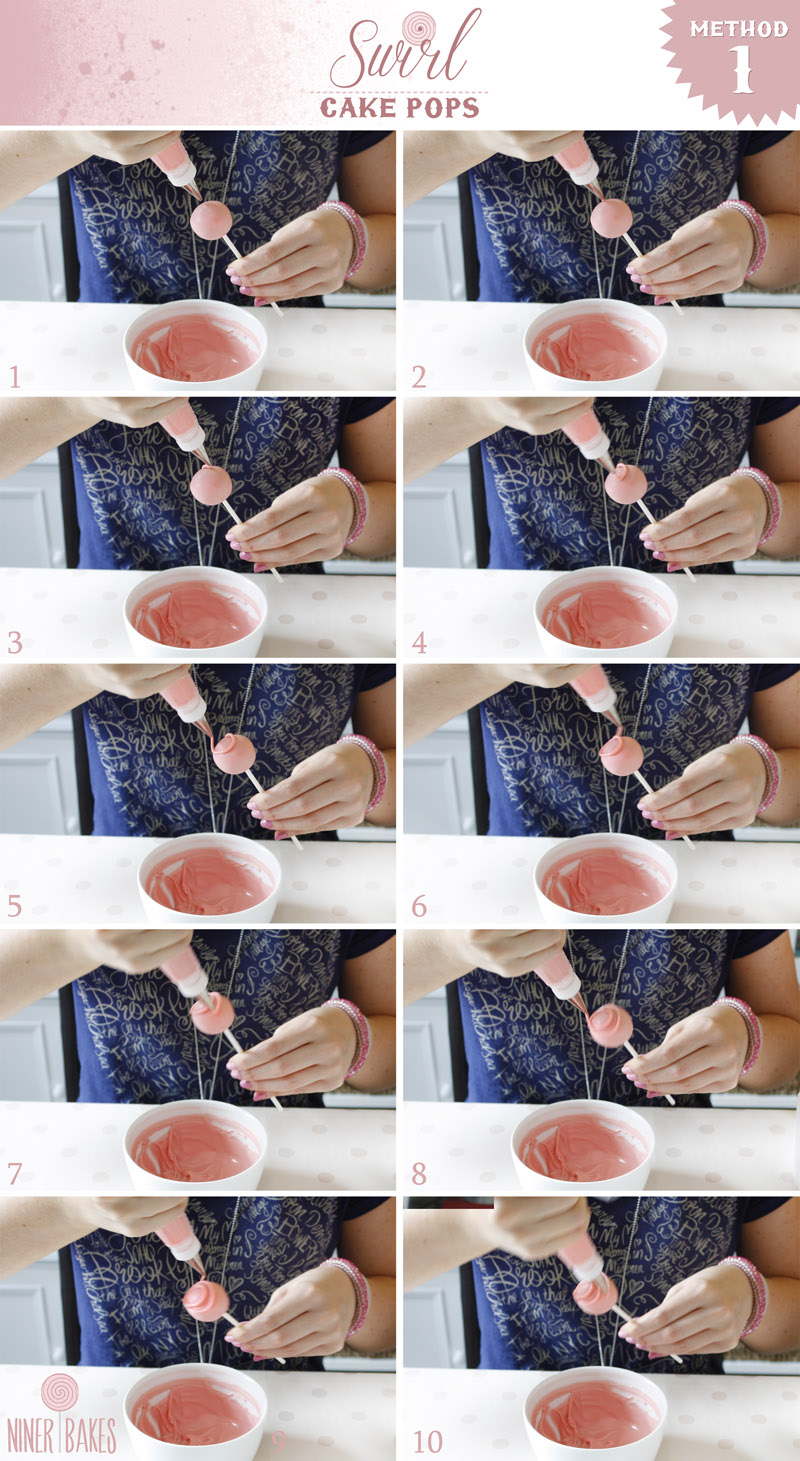
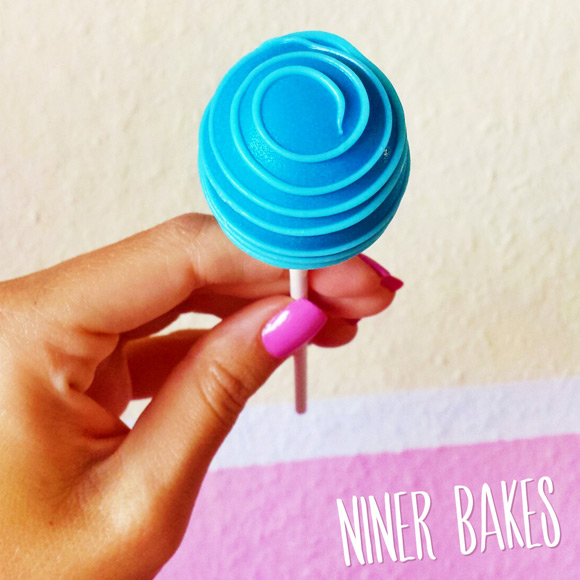
- 3. I usually have 2 methods to make swirls on cake pops:
Number 1 is a method where I will start to swirl right on top (middle) of the cake pop and work my way all the way around the cake pop, in one motion.
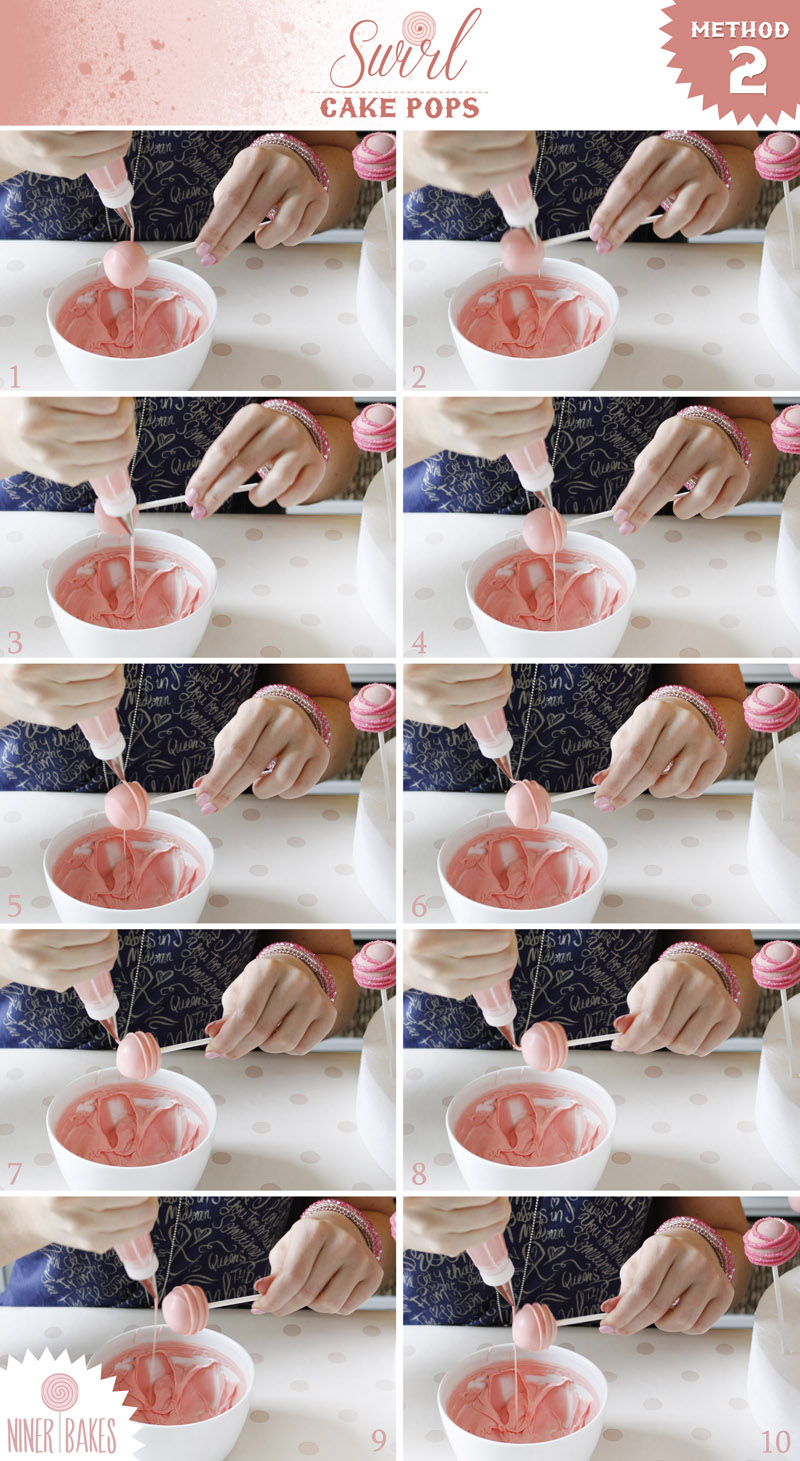
Can be a little challenging at first. - 4. Method Number 2 is a little different. I do not pipe the line in one motion, I stop in between.
When I start to squeeze the icing bag, I hold the cake pop under the stream of melted candy, while I continue to squeeze.
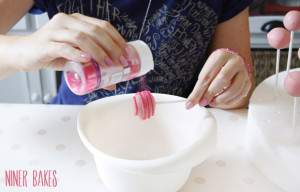
See here the step by step photos: - 5. What’s left to do: As soon as you are done piping, hurry with the sanding sugar and sprinkle it on the piped lines (those thin lines will dry quite quickly).
Note: If the candy melts are not smooth enough, please add a tiny bit of vegetable oil until you reach your desired consistency. For further questions, visit my Troubleshooting Guide.
Here is an animated gif that will show it much better:
Animated gifs don’t lie:

And you’re done!
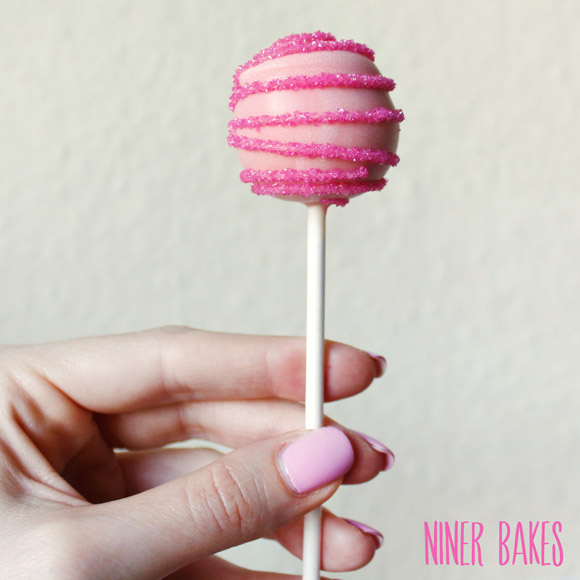
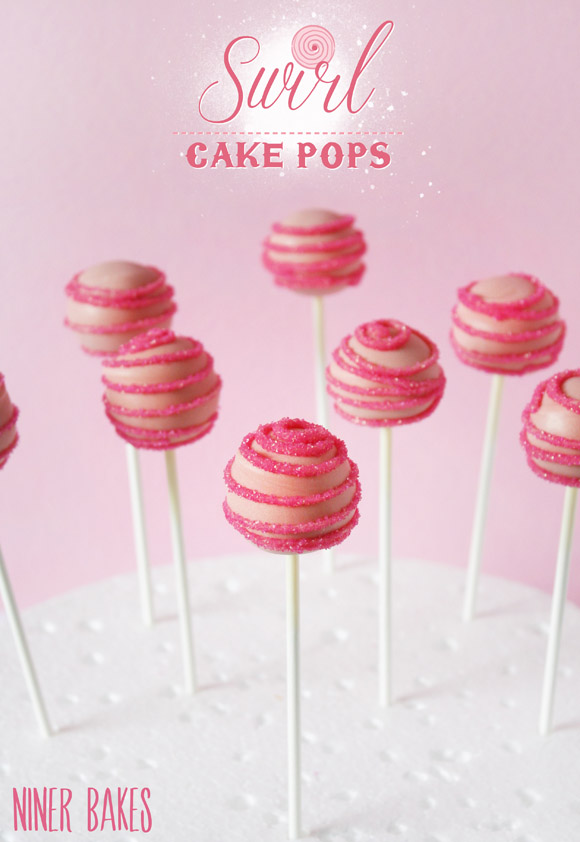
You can make way thinner swirls as well, and even without sanding sugar those look so so cute, have a look:
Especially in pink, it would make a super nice gift for a girlfriend’s birthday party!
Have fun swirling around, you guys :)
Wishing you all a sweet rest of the week!
niner


")


These are gorgeous, and so fun! Thanks for the tutorial!
Thanks Rachel :)
Glad you like them.
Blessings, niner
Another beautiful creation!! Thank you so much for sharing! I would like to make these for an upcoming party. How far in advance can I make these and can I keep them in the fridge until time to serve? I live in California and the weather is getting warmer…with cream cheese, I assume I can keep these refrigerated until serving time?? What is your suggestion? Thank you, Niner! I visit your blog frequently :) (p.s….people are still talking about your yummy cheesecake I made several weeks ago)
Hi Catherine, thank you!
My Oreo Cake Pops last at least 2 weeks, in the fridge is always better as well! I just made a batch on Monday that will get served on Saturday, so you are good to go to do this as well.
Thanks for trying the cheesecake, great you liked it :)
Stop by anytime, many blessings,
niner
These are so pretty, niner! I’m really lovin the animated gifs you used in the tutorial. They perfectly illustrate the techniques you use.
Janine, thank you so much!
Glad it is helpful for people, you probably would not have needed a gif, but hey, it is still nice right :)
Wish you a great day :)
Oh, isso é tão lindo! Estou apaixonada por estes cake pops! Beijos do Brasil!
Thanks for stopping by from so far away!! That is wonderful!
Beijos!!
niner
Niner, what an amazing post! I LOVE the step by step and “slideshow” photos – perfect! It’s nice to see the swirls being made in action… I’d love to try that some day.
Marian, thank you sweetie. So nice to see your comment.
Enjoy your day.
xoxo, niner
Simply ADORABLE…like the animated gifs. How’d you do that?
Carmen
Hi Carmen, I used Photoshop for it, I use it for anything, I am a real PS nerd.
Thanks for your lovely comment!
niner
Hey!
I just now found your blog, and it’s so lovely! You make such pretty stuff.
I have a few questions –
1. Why do you use candy melts and not tempered chocolate? I can’t get candy melt where I live (there’s no shops that’s sell them, nor could I find somebody that will ship them to my country if I would by them online), so do have any suggestions to me if I use chocolate?
2. Do you stick the lollypop stick all the way through?
3. How do store them once they are done? And for how long do they last?
4. If I’ll take them with me on a 1 hour drive, should I take them in cooler container?
Thanks!
I’ll will sure be following you’re blog from now on :-)
Hi there Yael,
thanks for your comment :)
I use candy melts because to me, they taste much better than the usual chocolate I get at the grocery store. It is a matter of taste. I started with regular chocolate, but I did not like it much. So: you can use tempered chocolate!
I do not stick the stick all the way through, only half way.
I store my oreo cake pops mostly in the refrigerator since I love the taste of it when they are cool. They last at least for 1.5 weeks or longer. No guarantee though :)
For a 1 hour drive it is no problem to store them in a box but if you can cool them, that is always better (when it is really hot, if its OK outside, cooling is not necessary).
So happy I have a new follower of my blog, thank you!
Have a great day and happy cake poppin’!
niner :)
Hi there,
Just wondering, if I choose to make them on Friday, and serve them a week from Sunday (9 days), should I refrigerate them or just keep them on the counter? I see what you said about your Oreo cake pops, but these are just regular strawberry pops. Also, would the refrigeration vs no refrigerating OR the storing time in general be different if chocolate is used instead of candy? Thank you, and sorry for all of the questions. You are so kind to take the time out of your busy life to reply to your followers, thats awesome!
-Naomi
Hi Naomi,
thanks for your kind comment. I definitely would store them in your fridge (not freezer!) until needed. 9 days is okay.
But what I cannot answer: Your chocolate vs. candy melts question. I only used candy melts so far. Please try first or risk it?!
Wishing you a happy Friday and a lovely weekend that’s ahead :)
niner
Niner they are gorg!! What do you do to rebut candy melt when it starts to harden? Thank u!!
Hi Rosie
Thank you =)
When the candy melts harden, you simply put them back in the microwave so they melt again. 30 seconds intervals :)
What about condensation, after placing in the fridge. Do you have a problem with that?
No this never happened, make sure your fridge is not too cold :) Have a great Friday! :)
What brand of sanding sugar do you use?