 niner bakes

Hi everyone,
I am still alive. For exactly two weeks now I have been laying in bed, on my comfi couch, back in bed again and so forth. I am having an infection/bad cold and it is really stubborn. I mean two weeks? And it does not seem to get much better.
I haven’t been baking at all except for pancakes, to give myself at least a little treat to feel better.
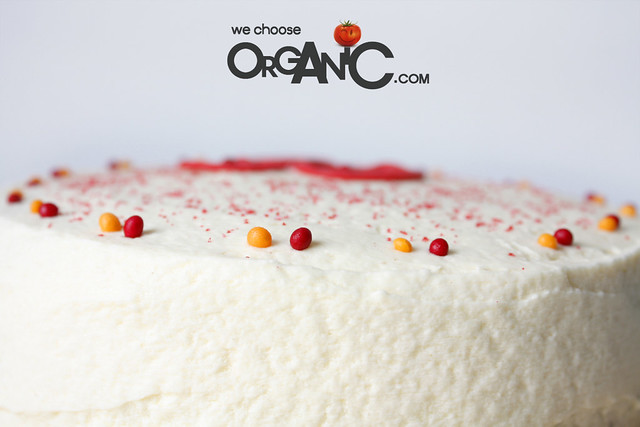
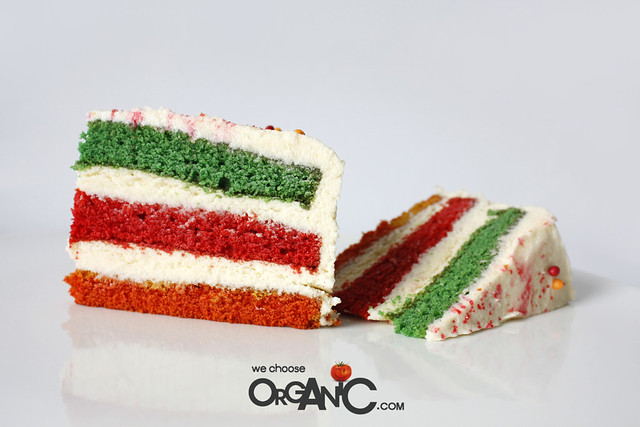
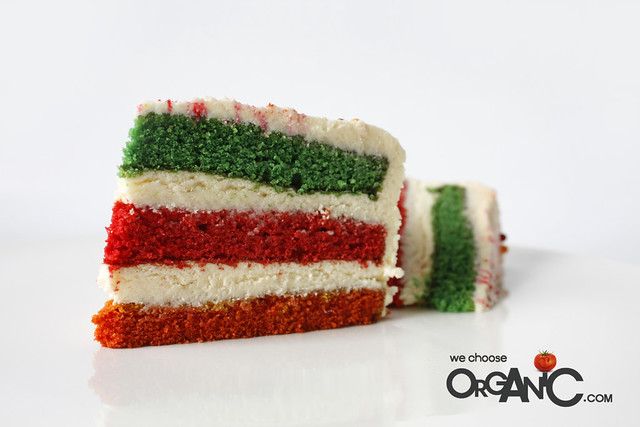
Before I got sick, I made this cake for my parents and today I thought I should share it with you guys. It is Friday, so that is something good and a post about a colorful cake is even better :-)
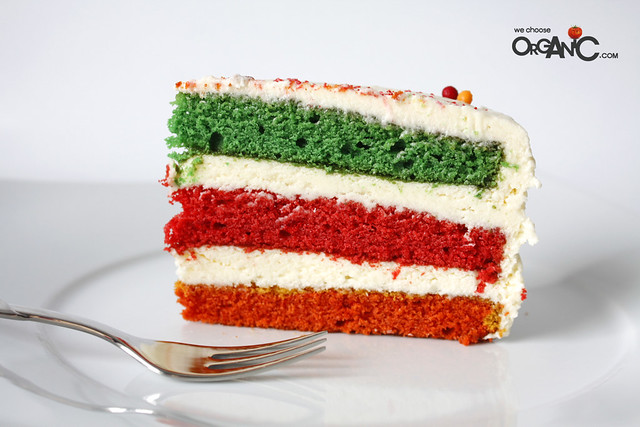
Now that I see the cake on my website it fits perfectly to it, the colors match and I did not even did it on purpose :-)
Please read on to get the recipe.

- Prep Time 20minutes
- Baking Time 20 minutes
- Difficulty Easy
For the Cake:
- 1 cup shortening (I used butter because it is hard to find shortening around here)
- 1-3/4 cup sugar
- 2-1/2 cups cake flour (I used all purpose flour)
- 1-1/4 teaspoon salt
- 2 whole eggs
- 1 cup buttermilk
- 1 teaspoon vanilla extract
- 1 teaspoon baking soda
- 1-1/2 teaspoon vinegar
- food coloring
- 1-1/2 teaspoon cocoa powder
- 1. Preheat your oven to 350 degrees / 180 G Celsius. Spray 3 round cake pans with baking spray, make sure it covers the whole pan, this way you will be able to get the cake out much easier.
- 2. Pour together the flour and salt, set aside.
- 3. With a wire whisk and in a seperate bowl, stir together the buttermilk, eggs, baking soda and vanilla. Now add the vinegar to the mixture and mix everything together.
- 4. In another tiny bowl, add the cocoa powder. Set aside.
- 5. Now cream the butter and sugar together until light and fluffy. Now add a little bit of the flour mixture to it, then a little bit of the buttermilk/egg mixture. Repeat until everything is well mixed and combined.
- 6. Then pour the cocoa powder into the mixture. Then I used a handmixer to mix it all well together.
- 7. Now it is time to pour your batter into 3 different bowls so you can add the food coloring. Choose any colors you like, use toothpick to insert the food coloring in the batter. Repeat until you have your desired color. Either use a handmixer or a spoon to combine the batter with the color
- 8. Now pour each colored batter into the 3 round cake pans.
- 9. Now bake your cakes for 20 minutes. When you remove the pan from the oven, wait another 20 minutes to let it cool. In order to get the cake out of the pan without cracking, place a large cutting board on top of the pan, invert the cake, so it turns onto the cutting board. Let the cake cool before you ice it though.
- 10. Now ice with yummy frosting, recipe below.
- 15 tablespoons flour
- 3 cups milk
- 3 teaspoons vanilla extract
- 3 cups butter
- 3 cups granulated fine sugar (no powdered/icing sugar!)
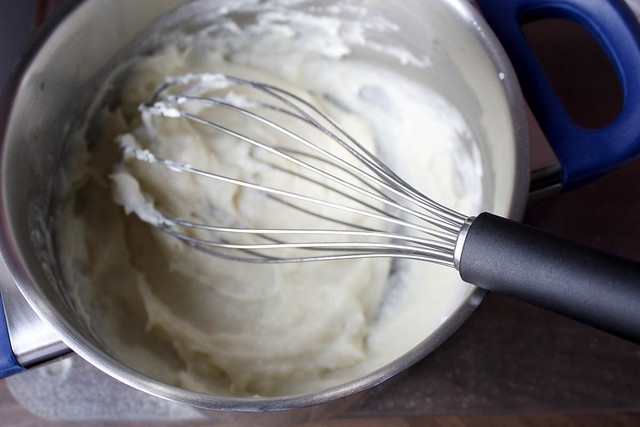
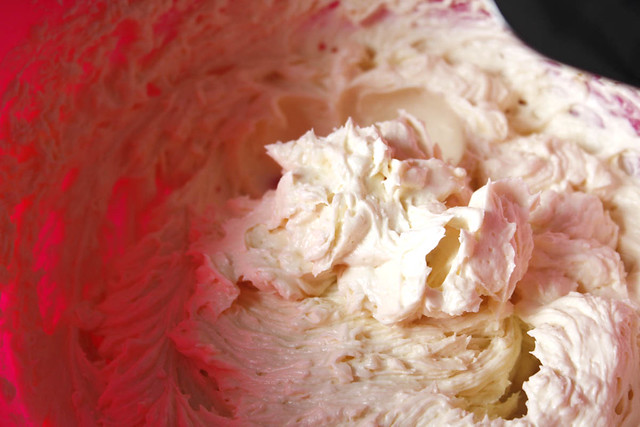
- 1. In a small saucepan, pour in flour and milk, and use a wire whisk to stir constantly while heating it up. It needs to thicken. At first you think nothing will happen because the mixture is very thin. But this will change, trust me :-)
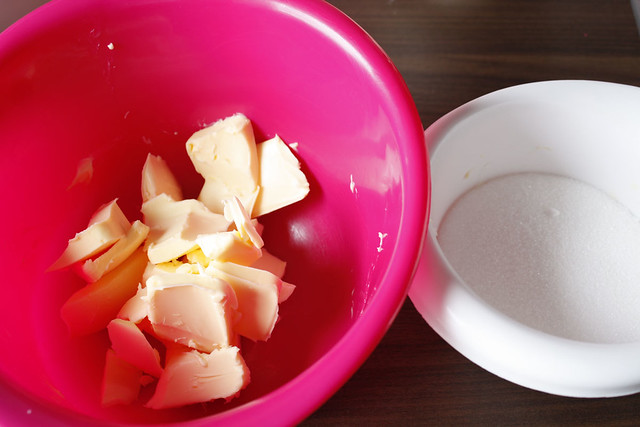
It has to be very thick. Stir and stir and stir so it won’t burn to the saucepan’s bottom. When it is thick enough, remove from heat and let it cool completely to room temperature. You really should stick to this, it must be completely cool before you stir in vanilla. - 2. While you wait for the mixture to cool down to room temperature, cream the butter and sugar together until it is all light and fluffy.
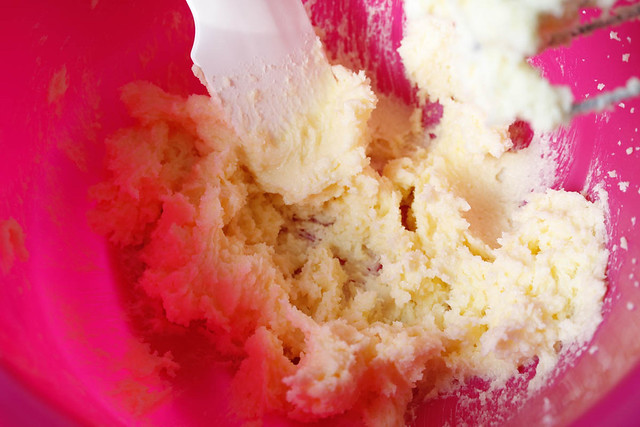
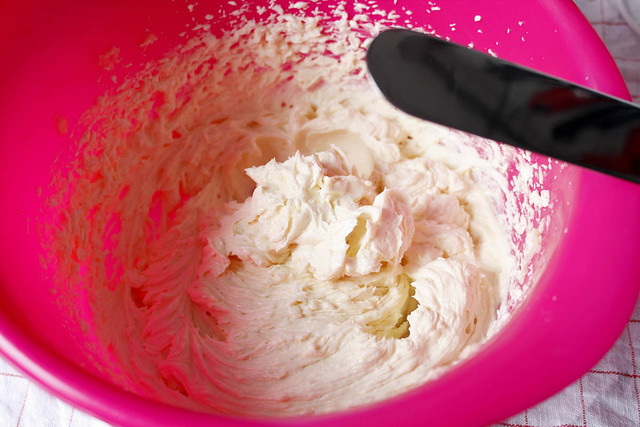
- 3. Now it is time to add the cooled flour mixture and beat it all together with a hand mixer. It can look seperated at first, if it does, beat it a little longer. Beat it until it looks like whipped cream.
- 4. When the frosting is looking yummy and tasting yummy (come on, give it a try!) you can start to frost your cake.
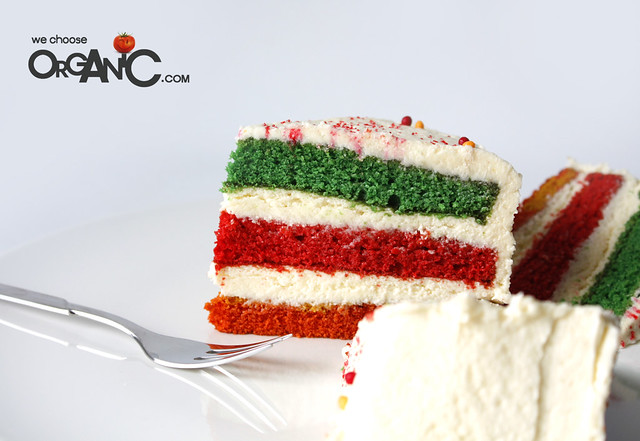
- 1. Place your cooled cake layer on a cake board. I usually use parchment paper underneath but that is not that necessary.
- 2. Now spread 3/4 cup of the frosting on top using an offset palette knife or offset spatula.
- 3. Now carefully place your 2nd cake layer on top, make sure to centre it.
- 4. Again, spread 3/4 cup of the frosting on top.
- 5. Now, the final layer of cake, place it on top of the second layer and make sure the clean bottom side is facing up.
- 6. Spread another 3/4 cup of the frosting on top of the cake layer.
- 7. Now crumb coat your cake. Frost the whole cake with a thin layer of frosting using your offset spatula. Refrigerate for about 30 minutes – 1 hour.
- 8. Spread the rest of the frosting on the cake, nice and evenly.
- 9. Decorate as desired.
For the FROSTING:
How to assemble your cake:
Happy baking. Enjoy your weekend everyone. Time for me to rest a bit.
niner


")


I love this, but do you have a suggestion for an organic food coloring to make this look as pretty as your pics? Thanks! :)
I love this, but do you have a suggestion for an organic food coloring to make this look as pretty as your pics? Thanks! :)
A lovely little recipe Niner, I am sorry you are not feeling well though and hope you are back to good-health very soon indeed :)
A lovely little recipe Niner, I am sorry you are not feeling well though and hope you are back to good-health very soon indeed :)
It’s beeeautiful Niner! The layers look so perfect! Looks yum yummm too. =)
I’ve missed your posts and hope you feel better soon!
It’s beeeautiful Niner! The layers look so perfect! Looks yum yummm too. =)
I’ve missed your posts and hope you feel better soon!
The cake looks delicious and the frosting… I already saved this recipe for a future reference.
The cake looks delicious and the frosting… I already saved this recipe for a future reference.
What a brilliant creativity. It’s worth a million likes.
What a brilliant creativity. It’s worth a million likes.
What a fun cake!!
What a fun cake!!