 niner bakes

Hello ya’ll!
I am a vanilla-girl! What about you?
I mean what if you all had to choose?
What would it be, vanilla or chocolate?
This is a tough one, I know. I love chocolate, no doubt about that but if I HAD to choose, I’d leave chocolate behind and choose vanilla :)
Today I have something OH SO GOOD for you all!
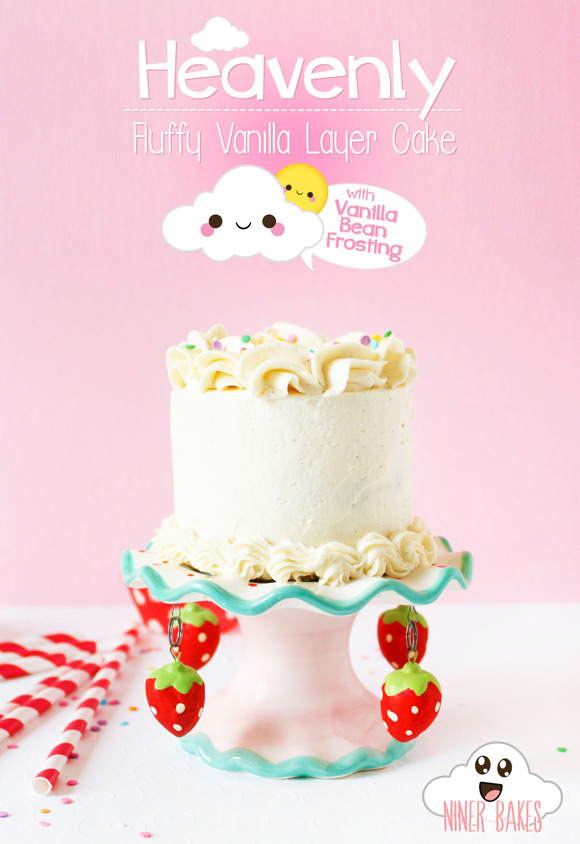
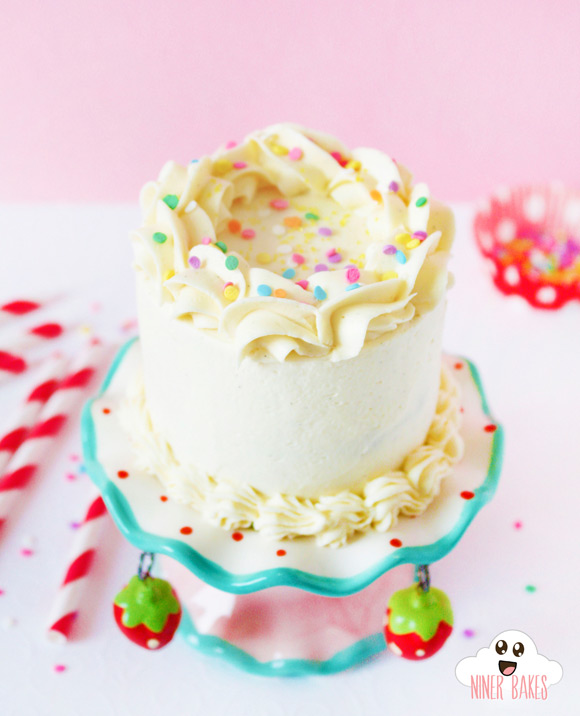
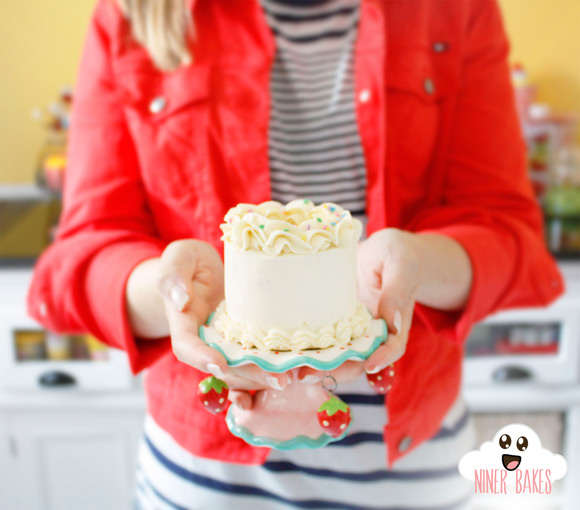
Mini vanilla layer cake! (say that three times in a row haha…)
It is REALLY mini, you will see at the end of the post :)
An incredibly delightful vanilla taste. REAL vanilla beans involved, no artificial flavors!
The base of the vanilla cake I adapted from Rose Levy Beranbaum – she is a blogger as well but much much more, she is real big in the baking business! She is an american baker and book author of many books including “The Cake Bible”. I am sure many of you already know it?
The title itself says it all, right? That book used to be Cookbook Of The Year and I can totally recommend it.
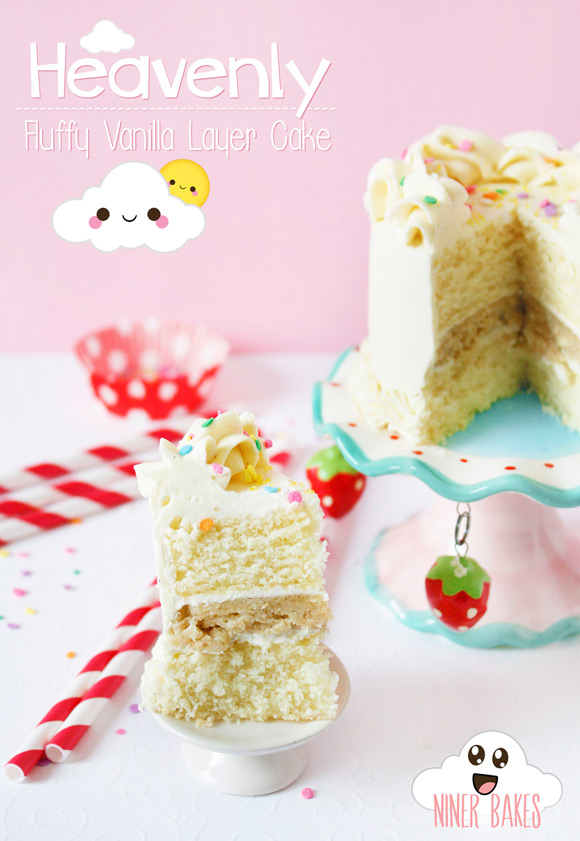
The vanilla cake itself is a dream. So fluffy, so so heavenly good.
But I chose to incorporate cookie dough as well, not in the vanilla cake though but as a single layer.
I am such a cookie dough fanatic, so it felt right to combine both lovely flavors, vanilla and cookie dough, into one happy mini cake.
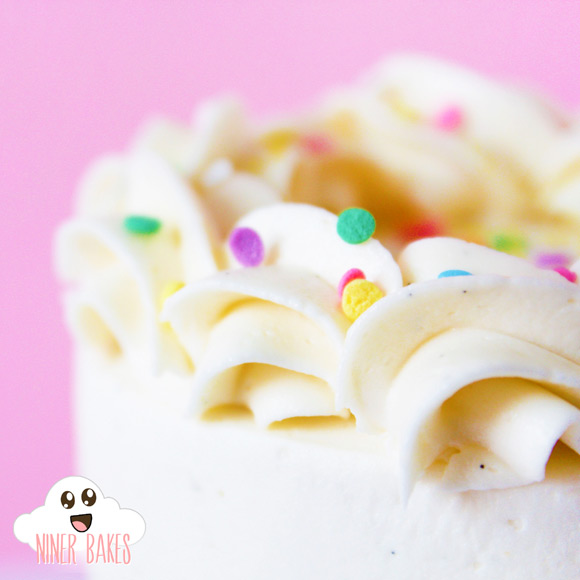
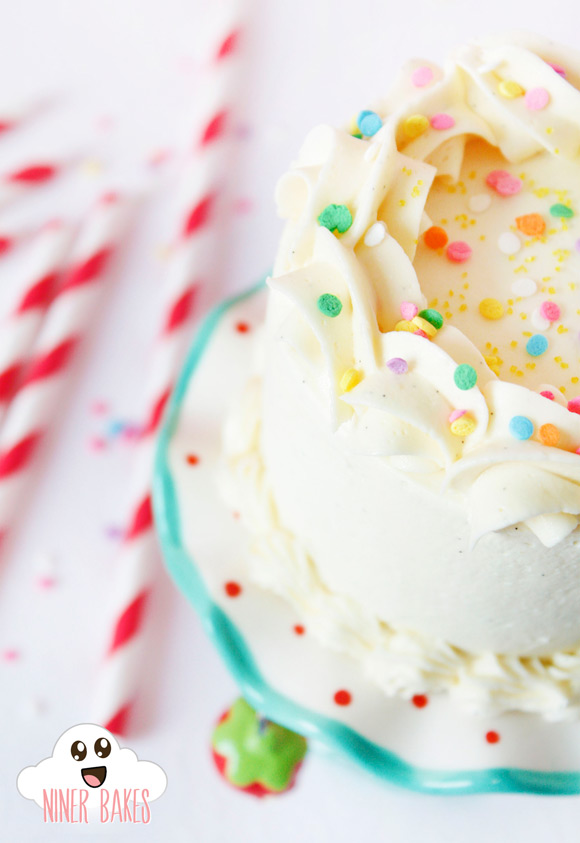
Not to mention the frosting, it is so creamy and fluffy, and those little vanilla seeds, to die for :)
See them?? Those tiiiny seeds. Somehow they amaze me.
Let’s Go!
- Prep Time 15 minutes
- Baking Time 30 minutes
- Difficulty Medium
- Servings 2 layers (8-inch pan) or 8 mini layers (approx. 3,3 inches)
For the Vanilla Cake:
- 5 medium – large egg whites (room temperature)
- 1 cup whole milk (room temperature)
- 1 egg
- 2 teaspoons pure vanilla extract
- 3 cups cake flour (sifted), regular flour works too
- 2 cups sugar
- 1 tbsp + 1 teaspoon baking powder
- 3/4 teaspoon salt
- 3/4 cup unsalted butter, cold, cut into small pieces
For the Vanilla Bean Frosting:
- 1 1/2 cups + 2 tablespoons unsalted butter, at room temperature, cut into tiny pieces
- 3 cups icing sugar (powdered)
- 3 tbsp milk
- 1 tsp pure vanilla extract
- 1 scraped vanilla bean
- pinch of salt
-
Let’s start with the vanilla cake:
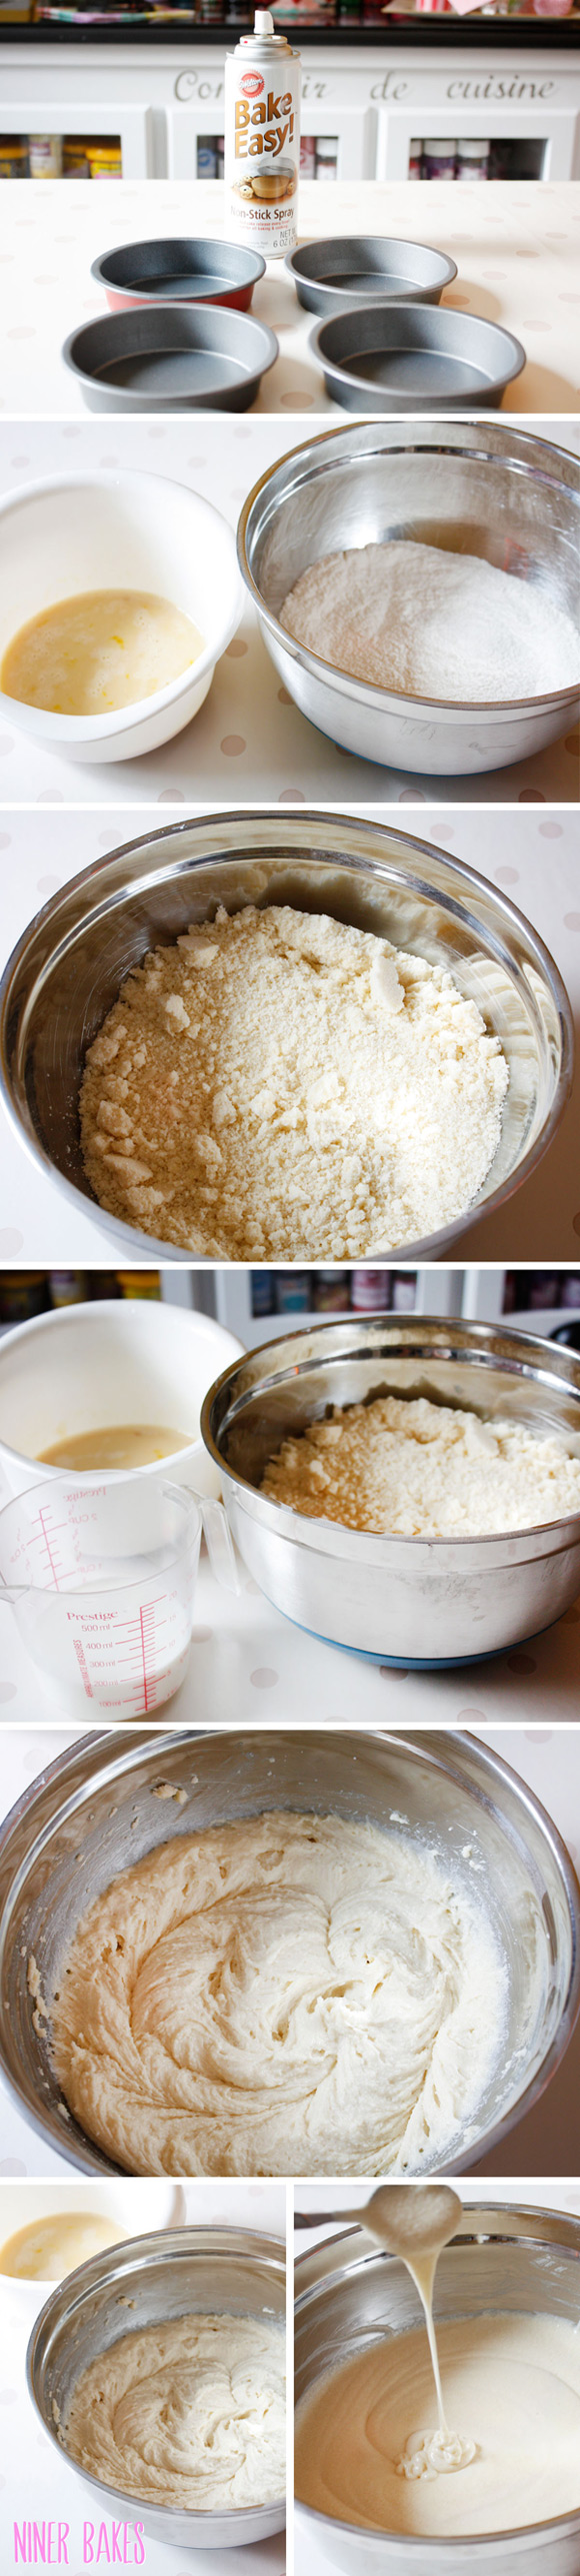
- 1. First off, preheat your oven to 350 degrees. I greased and floured 8 mini baking pans to make mini cakes (or do the same with two 8-inch pans), I used a non-stick spray by Wilton.
- 2. In a pitcher, measuring cup or bowl, stir in the egg whites + 1 whole egg, 1/4 cup of milk and the vanilla extract. Set aside.
- 3. Fit your electric mixer with the paddle attachment (or use your handmixer, this works fine too!) and put in all dry ingredients, mix on lower speed for 45 seconds.
- 4. Add the butter pieces, bit by bit (it is important that those butter pieces are cold). Continue mixing until you have a crumbly mix.
- 5. Add the rest of the milk to the crumbly mix, mix for about 2-3 minutes on medium speed.
- 6. Now add the egg mix to it, beat on medium speed after each addition (3 additions) for about 30 seconds. Scrape down the sides of the bowl to make sure everything is mixed in – and mix again for another 15 seconds.
- 7. Now, if you are making mini cakes like me, use an ice cream scoop and scoop the batter into your prepared baking pans. If you are making a two-layer cake (8-inch), divide your batter in two and place the batter in your two baking pans.
- 8. Bake your mini cakes for about 15 mins, the 8-inch cakes need about 30 minutes. Insert a toothpick, if it comes out clean the cakes are done.
- 9. Let your cakes cool for about 15 minutes, run around a small knife or spatula on the sides to loosen them and invert cakes onto a wire rack, tray or any type of board.
- 10. When cool, use round cookie cutters to cut perfectly round shapes (you dont have to, you can leave them like that).
Note: The excess cake, do not throw it away!
Put it in a bowl and wrap it with plastic wrap. You can make vanilla cake pops from the rest of your cake (since you will have frosting as well, which comes next!)
Note: There was some left over cake batter, you can either bake more cakes or even cupcakes, or do what I did: I tinted the rest of the batter red and baked a couple of more mini cakes, will show you in my next blogpost what I did with that! - 1. Use your handmixer or your electric mixer and fit it with the paddle attachment. Now beat your butter for about 8-10 minutes.
Yes you heard it, it makes a huge difference in the end. I like my buttercream frosting not super super sweet and by whipping the butter for that long, it tends to get really creamy and pale in color. In the end you do not have that buttery taste. - 2. Now add powdered sugar, milk and the vanilla bean and beat on low – medium speed for 2 minutes until everything is incorporated, light and flufffyyyy! (ehem yes…I watched Despicable Me and love it as well all do!)
- 3. Now it is time to assemble your mini cakes, yay!!
Here you can see the steps in photos:
Here you can see the steps in photos:

Let’s go on with the Vanilla Bean Frosting:
Here is a little summary in photos:

-
How to assemble your mini cakes:
- What you need: A palette knife or an offset spatula, the mini cakes, frosting and cookie dough (optional!) – click here for my cookie dough recipe.
- 1. Using your offset spatula or palette knife, spread a little bit of frosting evenly over the first layer of cake, only the top surface.
- 2. The second layer will be your cookie dough layer. You can leave it out if you do not have cookie dough. You can place a big amount of cookie dough on a board and roll it out rather thin and then, using the same cookie cutters that you used for the mini cakes, cut it out and place it on top of the frosting layer, press it down gently to make sure it sticks.
- 3. Add another dollop of frosting on the cookie dough layer and spread it evenly. Now put the top part vanilla cake on top of the frosting.
- 4. Start to crumb-coat your mini cake:
Spread the frosting on the top, then move it to the sides with your spatula. After you are done crumb-coating, put your cake in the refrigerator for 20-30 minutes to chill and harden.
Then again coat your cake again so you cannot see any more crumbs or the cookie dough layer.
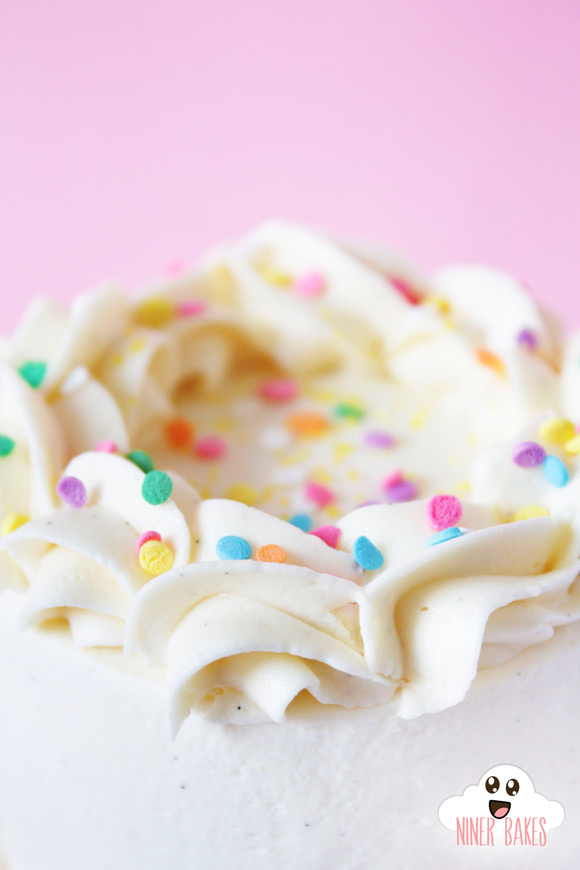
Note: If any crumbs get in your frosting (from the first crumb coat), make sure you will not put it back in your bowl. This way your 2nd coat will be crumb-free and this is what we want :) - 5. Now you can add decorations: I simply put the rest of the frosting in an icing bag and piped swirls on the bottom and the top. I decorated the top with colorful sprinkles and there you have it:
A teeny tiny mini cake – I absolutely love all things mini – that is why I rather bake mini cakes as well.
Here is a little summary in photos:

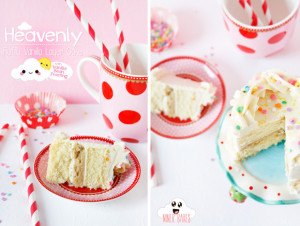
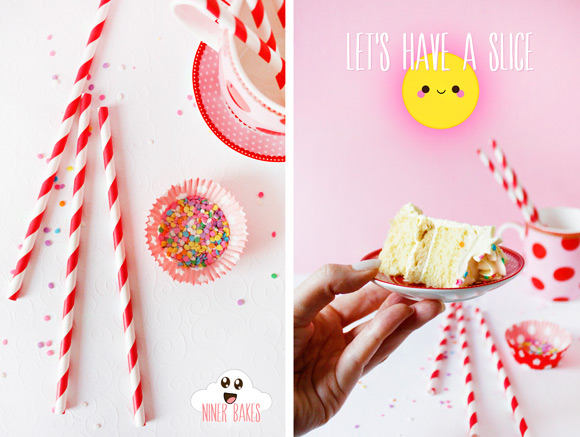
A little closer. I fell in love with this lil’ one – I did not want to cut a slice to be honest :)
But then, I did.
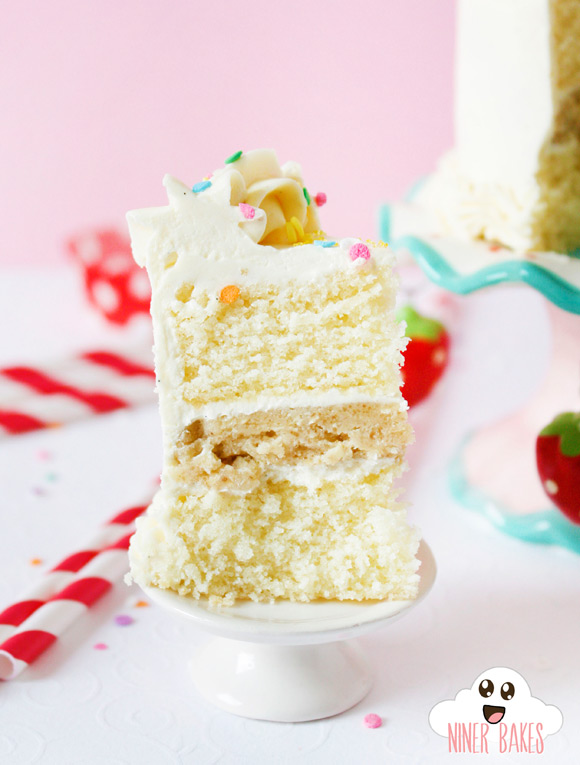
Not too bad!
That cookie dough in there, so so good!
I love the bright color.
So simple but thats so cute when it comes to this tiny cake.
Oh and yeah, I love close-ups haha…
Please let me know when you make this cake, simply add your photos to my Facebook Page wall, would LOVE to see your outcome and put the photos in my blogreader’s album, ladies and gents! :)
And now guys, come on, let’s have a slice!
To all my blog reader’s who make me happy each and every day by commenting, sending me photos and feedback:
THANKS SO MUCH EVERYONE! <3
This is for you!
Have a wonderful weekend!
Love,
niner


")


Looks awesome like always <3 where did you get the mini baking pans, they are so cute.
Hugs, Laura
Just beautiful! And you make it look so easy! :)
What size are your mini pans and where did you get them?
I’m a long time reader but I don’t believe I have ever commented – well, now I can’t wait to say something because we have something in common! I’m a vanilla over chocolate lover from WAY back! I call it an addiction to wedding cake but still – I cannot resist the wonderfulness of a moist vanilla cake with vanilla icing and now vanilla cookie to go with it??? Heaven! I too would like to know where you got the mini cake pans – Wilton?
that’s so cute. I love your graphics too!
I can’t believe how delicious this looks ! I’m a vanilla girl too. This is def going on my MUST TRY list. Thank you!
Hi Evelyn, I really hope you will like the recipe.
Thanks for your sweet comment :)
oh how i love all your pictures niner! the cakes look so darn beautiful and yummy! :)
Hi Lisa, your comment made my day. Thank you so much ?
Many blessings, niner
Das klingt super lecker. Meinst du man kann die Törtchen auch als Grundlage nehmen und sie dann mit Fondant überziehen? Such grad Inspiration für die Geburtstagstorte meines Kleinen. Und der liebt Vanille.
Hi Astarte, aber klar, das geht auch =)
Alles Liebe und happy baking,
niner
Super, dann werd ich das mal probieren und schauen obs klappt. :)
Ich habs getan- und es schmeckte absolut himmlisch und ließ sich super verarbeiten.
http://tortenrest.blogspot.de/2013/09/mo-geburtstagstorte.html
Das freut mich riesig, Astarte =)
Alles Liebe,
niner
Was für ein tolles Rezept. Ich habe es als Grundlage für eine Hochzeitstorte genommen. Bin mal gespannt wie das Brautpaar es finden wird. Lg
Hallo Eve, wie wunderbar, ich hoffe sehr das es gut ankommt. Freue mich auf ein Feedback :)
Alles Liebe, niner
ooooh wie süß es aussieht!
erinnert mich an die süße kleine schwester von sweetapolitas vanilletörtchen.
ich finde es ja immer viel schwieriger kleine törtchen einzustreichen und du hast es sooo schön hinbekommen!
guten morgen,
ich bin gerade dabei das zu machen, wollte nur mal fragen, ob puderzucker für das frosting nicht zu viel ist? habe erst mal ein paket (250gr) reingetan und wie ich finde, reicht das…. oder muss das erst mal ziehen?
Hi Derya,
also ziehen muss das nicht. Man gibt es nach und nach während des Mixend hinzu, bis alles gut vermengt ist. Die Menge sollte so reichen.
Alles Liebe
niner
Sieht total lecker aus!!!!
Muss es unbedingt mal ausprobieren!!!!
Kann ich eigentlich bei dem Frosting die Vanilleschote weglassen?
you’r not only a great bakerin, but also a great photographer.
Thank you SO much, Herbert :)
Awesome to hear :)
Look- hab die Tasse und den Teller nun auch im Shop! Danke für SUPERBILD <3
http://www.cupcakelook.com/Cupcakelook-p861h175s77-Mini-Teller-Tasse-ro.html
Juhu Cory, wie super!! Much love girl :)
Die Buttercreme ist echt klasse, auch wenn ich etwas weniger Puderzucker verwendet hab, denn das wäre mir dann doch etwas zu süß. Die kleinen Layer Cakes wird ich in meinem jetzigen Urlaub auf jeden Fall ausprobieren.
Hi,
would love to try the vanilla frosting but don’t have where to purchase vanilla bean. Can I make without? Also, can I substitute the milk with a milk substitute like coffee whitener?
Hey Niner,
ich finde deine Ideen super und wunderschön!! Aber ich hab ne Frage: Machst du die Bilder die du hier drauf stellst selbst?? :)
Hi Elena,
danke für dein Lob.
Aber na klar, ich mach das alles selbst.
Alles Liebe und einen schönen Tag Dir :)
Hello my amazing baker
looks stunning as usuall ,,
can i ask u ?
how much is the butter in the frosting by grams ??
thank you ,,
Hi Rawani,
thank you :)
Please have a look here, at the German recipe, there you will see Grams etc.
Many blessings to you,
niner
Hi Nina,
sag mal, wo hast Du die tollen Backpfannen her?
LG, Imke
Hi Imke,
die hatte ich mal bei TK MAxx ergattert. Ähnliches ist mir online noch nicht über den Weg gelaufen – eventuell würde sowas auch gehen (klick).
Du kannst aber auch alles in einer großen Form backen und dann mittels Keksausstecher ausstechen :)
Happy baking,
niner
Firstly you’re website is absolutely adorable! Second I’m just going to make the icing for some cupcakes and I was wondering if I could make it in advanced. If I can make it in advanced how many days would you recommend or would you stray away from this idea and just make it the day of ?
Hi Quinn,
thanks so much for your visit.
I never made frosting ahead. I usually bake the cupcakes ahead and maybe freeze them and then defrost them on the day I make the frosting. To me, frosting is always best made on the day you will use it.
I bet there is a way but I have no experience with that yet.
Many blessings to you.
Hi! Beautiful cake!
Unfortunately cake flour is un available to me where I live, so I wanted to know the results of using all purpose flour? Have you tried it? Anyone else? Please RSVP ASAP!
Hi Kris,
thanks for stopping by. Of course, you can use all purpose flour :-)
Happy baking to you! :)
hi niner, was für ein tolles rezept!!! eine frage: kann man auch erdbeermousse hinzugeben für den fruchtigen geschmack? falls ja, welche menge würdest du hinzugeben in welchem verhältnis? tausend dank!!!! lg, anja
Hi Anja,
vielen Dank für deinen Kommentar. Leider kann ich Dir bezüglich des Erdbeer-Mousse keine genaue Menge nennen, das würde ich persönlich “frei nach Schnauze” probieren. Ist auf jeden Fall eine super Idee!
Ich wünsche dir eine tolle Vorweihnachtszeit! :)