Hi there!!
It’s been so long, but I am back with a nice and sweet post about Instagram!
You guys might not know but I used to have a Blackberry which did not support Instagram, means they did not make a version of Instagram for Blackberry devices.
Before I could use Instagram I edited many of my pics with different editing tools that are just like instagram. But I wanted to share my photos as well. What a bummer.
3 weeks ago my parents made me a special gift, they gave me an Android device, a Samsung Galaxy S2, and the first thing I did was to download Instagram and started to upload pics. I just love instagram, it is so fun.
To see what’s happening with my friends, with other foodie and dessert bloggers out there, it is just amazing.
In May I crafted a canvas for my friends birthday. Since we are friends for many many years, I thought to make her an instagram canvas with photos of us from way back in the day until now. She didn’t even know instagram but she loved the effects on the photos. I can definitely recommend the tool Pixlr-o-matic. It has tons of photo effects such as vintage or retro effects. And you can use it on your computer!
I could do these effects by myself since I am a designer, and I do from time to time but using a great effect tool is so much faster. I absolutely love it. Wish it was possible to use your own effects you’ve made with the tool, just uploading them or loading them to a certain folder and voilá, there you have your own effects. I am sure one day “they” will develop that as well.
Follow the instructions on how to do make your own instagram canvas below.
The first thing I did was I picked out all the photos, opened up Adobe Photoshop and Pixlr-o-matic and designed the photos to make them all look “instagrammy”. A little effect here, a bokeh there, oh and let’s just put a border on this one as well :-) It is so fun!
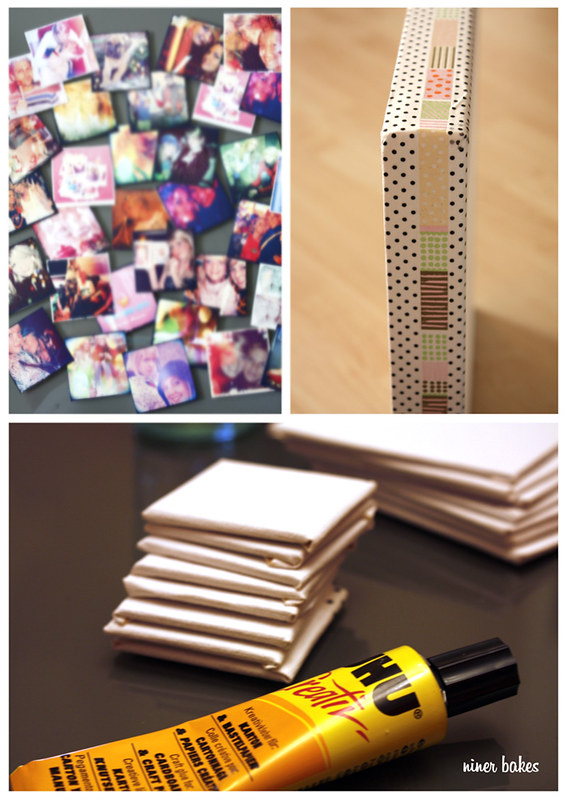
Then I printed them out (on good quality photo paper) and cut each one, so after I was done I had 30 little instagram photos cut out. Time for the canvas!
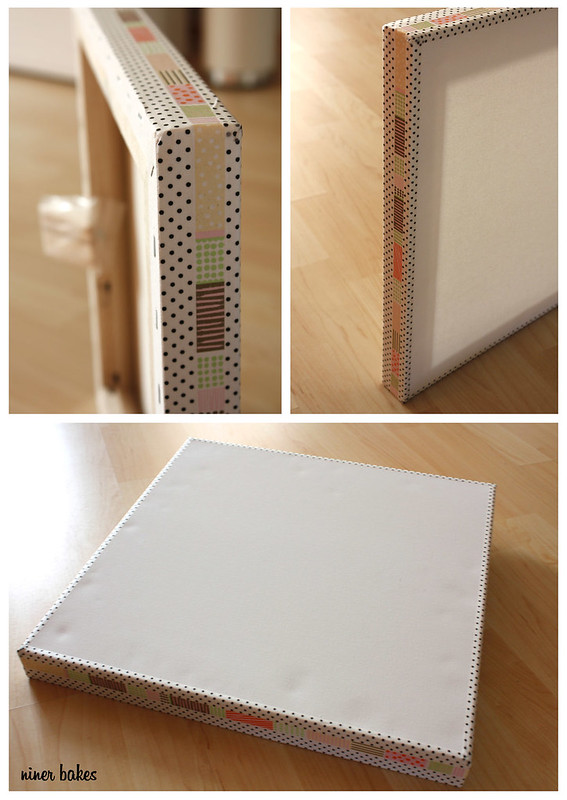
I do not remember the exact measurements (sorry), but probably around 100×100 inches.
I thought it would be sweet to give the edges a little more color than to leave them just plain white. I used Washi Tape / Masking Tape and taped it on the white edges parts of the canvas. Since my friend loves black and white, I chose a tape with black polka dots, perfect. I did that before I glued the photos on the canvas.
Now, lay out your photos and arrange them on the canvas until you are satisfied with how it looks. You can use Mod Podge or any other type of glue (I used a german brand called UHU) to stick the photos on the canvas; start with the corners, that’s better in my opinion.
Let it all dry.
Now you are definitely done…or not quite yet? :-)
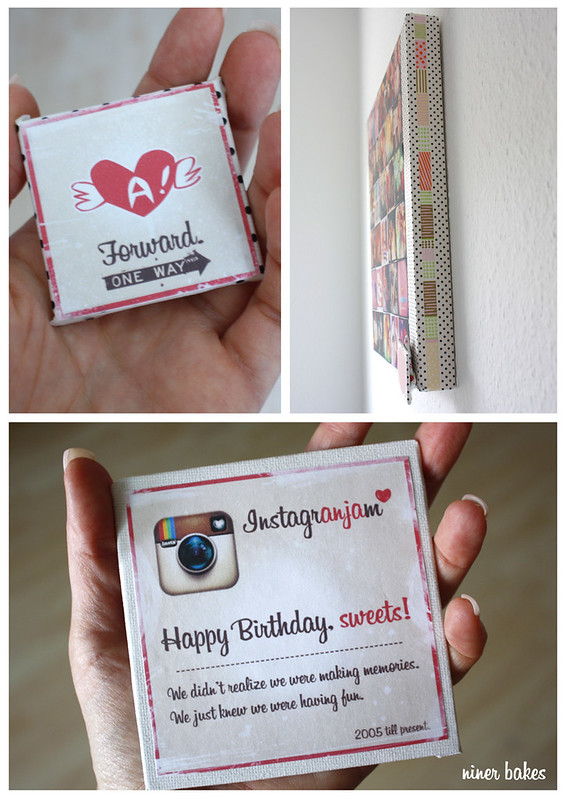
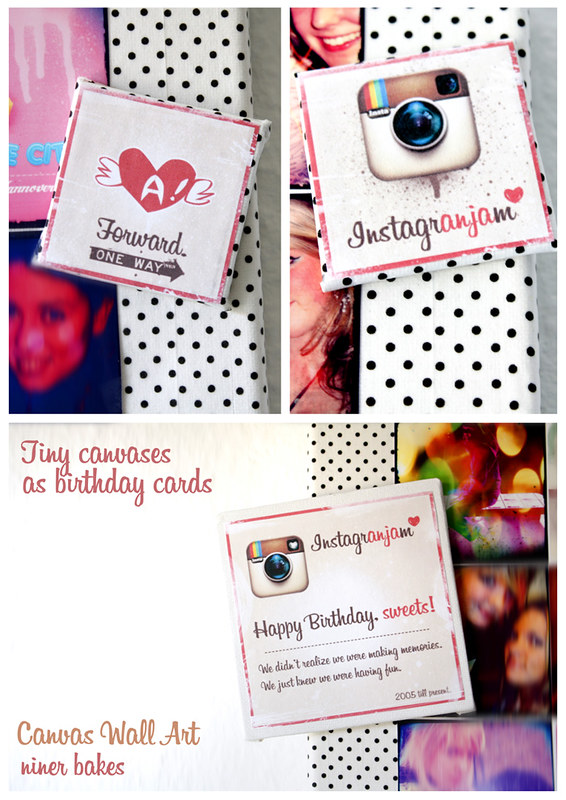
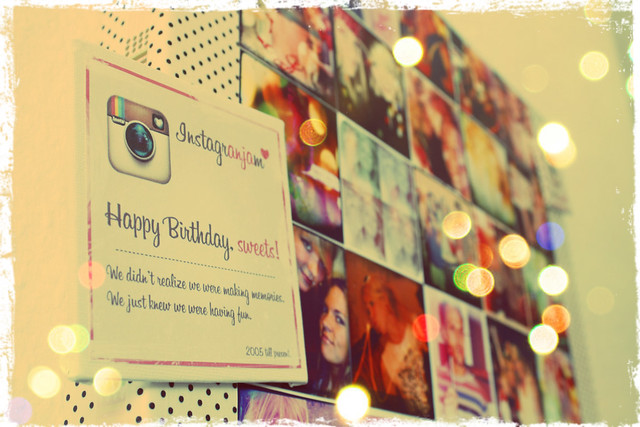
What I did was to design a personal tiny canvas into a birthday card. I printed out my design and glued it on the mini canvas. I think this way it is even more personal than to just buy a card somewhere. I love to show friends and family that I care. It’s so awesome to see their look on their face when they get something “homemade”. Don’t you agree?
Her name is Anja, that’s why I called it an InstagrANJAm :-)
I made this other tiny canvas which says “One Way” “forward”; I think that’s quite supporting because there is only one way, forward, and we should never give up and remain focused with whatever we are doing. Those kind of messages are very uplifting I think.
And I found this very amazing phrase on Pinterest once, and it fit perfectly, so I used it on the bigger “card”: “We didn’t realize we were making memories, we just knew we were having fun.”
Beautiful, isn’t it?
Have you guys used any of the printing tools such as Printstagram, CanvasPop or Blurb (gets you have instagram books of your photos) to get your instagram photos printed or have you done it by yourself like I did?
I think those tools are nice, but if there are photos you want to print out that are not in your instagram feed, you might just need a good tool like Pixlr-o-matic to make the effects on any photo you want. You can develop photos anywhere so that’s quite nice that you do not need an instagram account at all – but ohmy I do not want to miss it! I am obsessed with it =)
I am sure many of you are too – I would love it if you followed me on my instagram account so we can share brilliant photos.
There’s another great tool that lets you export all your instagram photos in a zip file! It’s called Instaport – you should check it out.
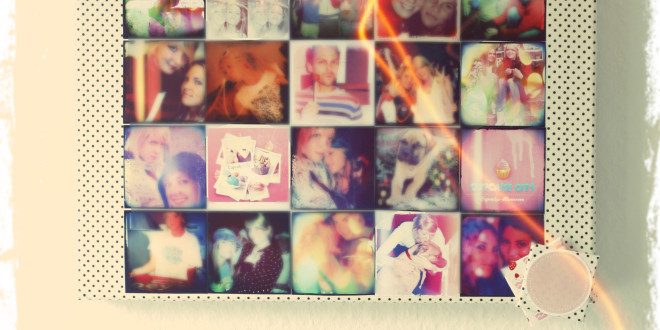
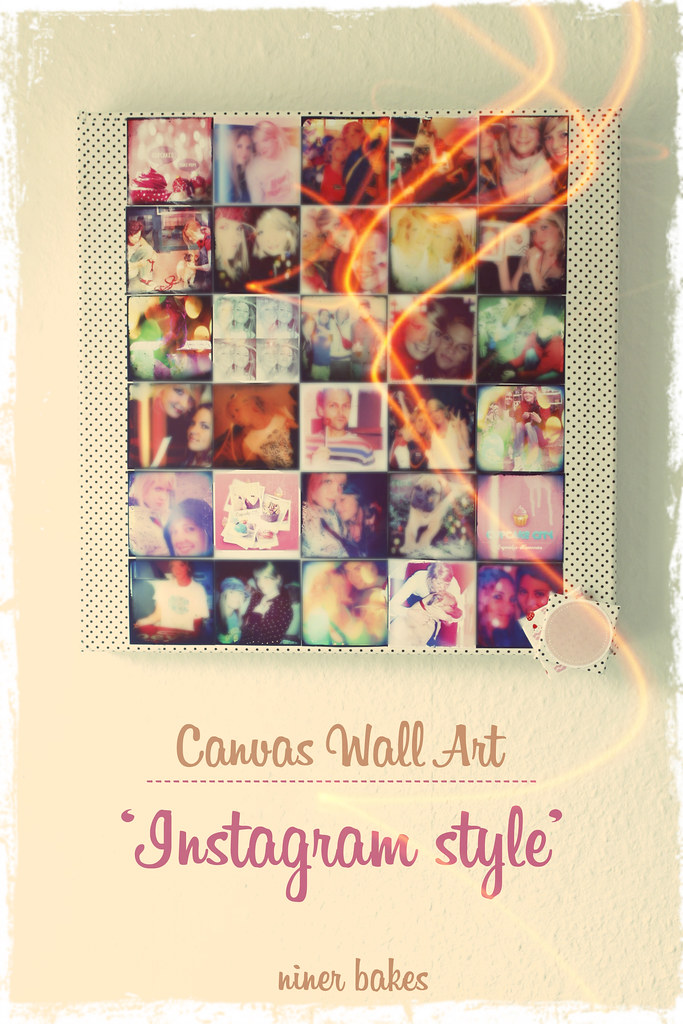
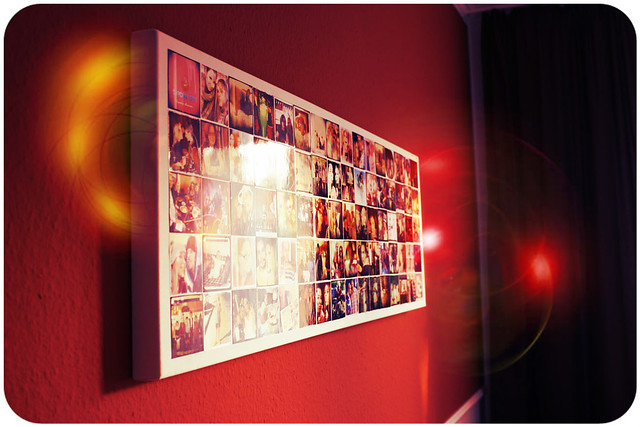
After I made her the canvas, I knew I needed to make one for myself because my wall needed a nice piece of art right above my huge couch. Want to see? There you go:
It looks so tiny but its big actually, since my couch is probably around 114 inches wide (2,90m) =D
This is it for now, I wish you all a great day and keep on instagrammin’ everyone – looking forward to get connected on instagram. :-)
Blessings…niner
 niner bakes





Hi Niner, that is a beautiful well thought out gift. I love to give home made gifts too but haven’t ever attempted anything as large or creative as this. Anja is very lucky to have a friend in you. Wishing you every blessing, Debbie x
Thanks Debbie thats so sweet of you! You should try it out, are you on instagram? You could share your lovely photos, I am sure you’d reach many people. It would be so sweet to see you there :-) Many blessings to you too!! niner
Yay!! Finally another post from Niner!! ;-)
So many things to say!
I love that you’re on Instagram too now… it’s nice to connect with you there. I also love your DIY; I think I need to make one too! You’re so talented how you put everything together and you’re such a gifted designer – love the Cupcake City images!
xo,
Marian
p.s. Love your chandelier :)
Thank you, Marian!! :-) So happy to see your comment here. I so agree, it is so sweet to connect with you on Instagram – to see what you are up to besides seeing your blogposts – just lovely =)
Many blessings!!
What size did you cut your photos to before gluing them to the backing? Your wall art turned out very nicely, BTW.
Hi Will, each photo is 7x7cm .. I think that is about 2,75 inches x 2,75 inches. Hope you will try it out.
Many blessings, niner
Great gift idea and excellent tutorial. Have you tried printing an Instagram photo on three separate canvases? Creates a really cool effect!
Hey, these look great. With the one you did for yourself, did you just leave the edges blank? I’m about to try it myself!
Hi Becky,
thank you.
Do you mean the edges of the canvas? Yes exactly…left them blank :)
Blessings,
niner