 niner bakes

Hey lovelies,
did you know that if you divide the world’s population by 365 you will get the number of people that share a birthday on the same day?
And that is about 19 Million people!
Holy moly!
This is why I thought:
Why not write a blogpost about Birthday Cake Pops – since there are so many people out there right now trying to find an unique birthday gift for their loved ones :)
Preparing a birthday can be fun and stressful at the same time; but still:
I always look forward to birthdays. When it comes to my birthday, I feel like a little child still (even though I will turn 30 on July 12th!) – I love to open up gifts and just be with my friends and especially my family, absolutely love it!
To plan a birthday when you have absolutely no idea what to give that special someone on their special day can be frustrating. Each and every year we are facing the same “problem”: What to give?!
Since Pinterest is around, that problem sort of got solved because on Pinterest you find everything, there is so much inspiration on there when it comes to DIY things, crafts, baking, cooking, fashion etc.
So it should be easy for you and me to find something nice for the birthday child.
Especially when it’s handmade, people will love it.
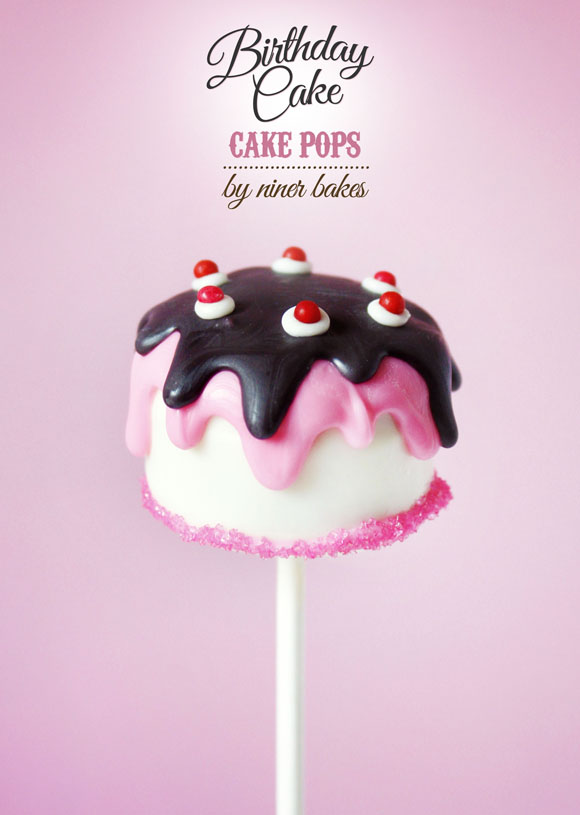
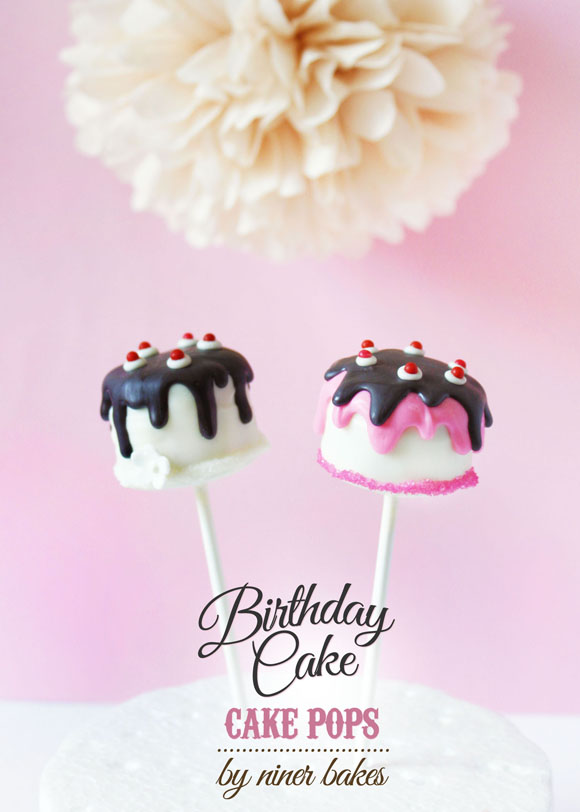
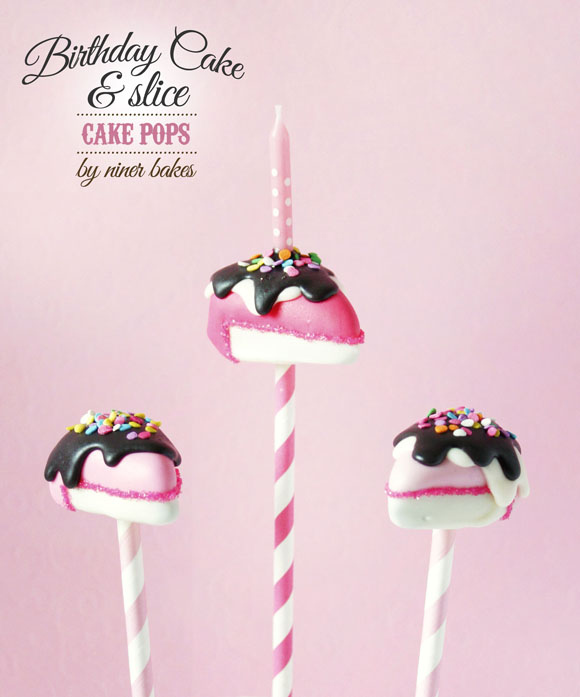
And to satisfy your sweet tooth, I have Birthday Cake + Slice Cake Pops for you guys on the blog today!
But before we go on with the tutorial, I would love to say HAPPY BIRTHDAY to a special friend of mine.
You might know her, she is a wonderful blogger and really popular for her stunning, decorated cookies.
It’s Marian from Sweetopia!
Happy Birthday Marian!
Wishing you nothing but the best and hopefully, next year, we can celebrate both our birthdays together!
This one is for you, sweetie:
Please have a look on her blog or visit her Facebook page to send her HAPPY BIRTHDAY wishes.
And now, let’s move on with the tutorial(s)!

- Prep Time 20 minutes
- Baking Time 10 minutes in freezer / 30min in refrigerator
- Difficulty Medium
For the Birthday Cake – Cake Pops:
- Ready made Cake Pops – if you need a recipe and a visual tutorial, click here.
- microwave safe bowl
- Candy Melts of your choice
- Paperstraws for a cuter look or regular lollipop sticks
- round cookie cutter
- pink sanding sugar
- red sugar pearls a little bigger than nonpareils (those imitate the cherries on the cake)
- styrofoam block for cake pops to dry
- tooth picks & tweezers
- Mini Birthday Candles (cut if necessary, use candy melts as glue to attach the candles)
- Lollipop plastic covers
- ribbon for tying
Additional Items you may want to get:
Note:
If problems occur while making cake pops, please read my Cake Pops 101 Troubleshooting Guide – maybe you’ll find the answer to your problem!
- Prepare yourself before you actually start.
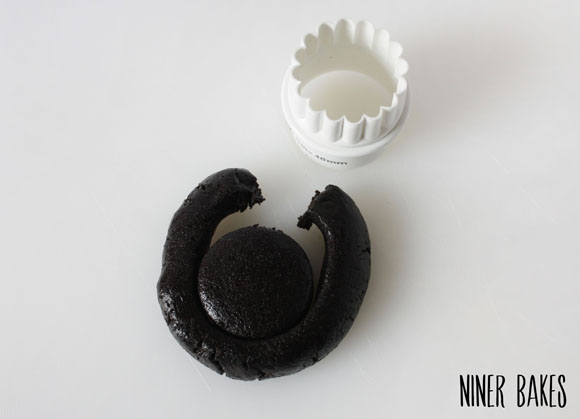
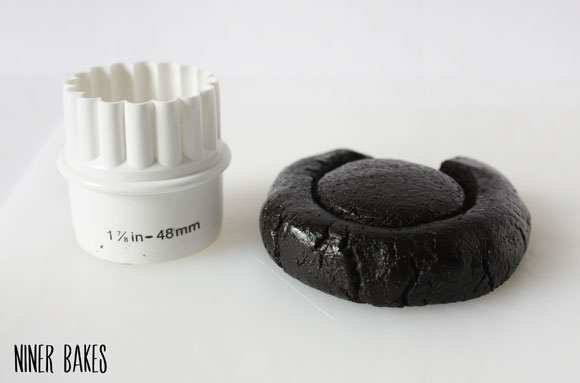
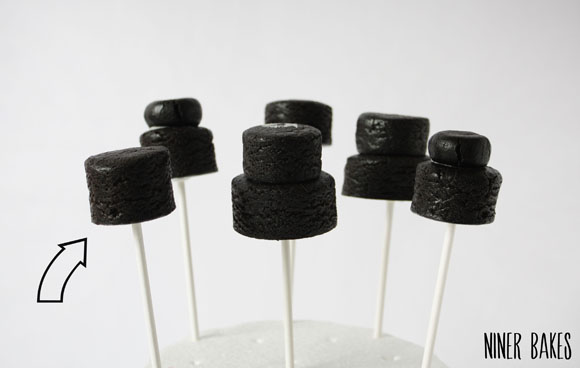
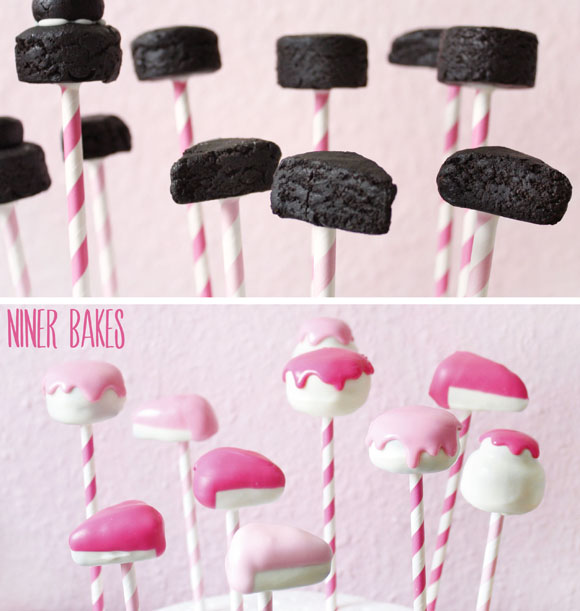
Get everything out on the counter you need, so you do not stress yourself in the middle of the decorating process. - 1. After preparing your cake pop mix (get a recipe here), form a rather big ball of the mix and press it down a little. Now use your round cookie cutter to cut out the cake’s shapes. Repeat this step with the rest of the cake pop mix you’ve prepared. Now all of your cake shapes have to chill in the refrigerator for at least 20 minutes, in the freezer for 10 minutes.
- 2. Now melt your candy wafers in your microwave in 30 seconds intervals.
- 3. Dip a little bit of the lollipop stick in the melted candy, then stick the lollipop stick in the Cake Pop (half way and put the pops back in the refrigerator to firm up so the chocolate can set inside the cake pops. (Especially in summer!) Note: You can make two- or three tiered cakes as well, but if you are a beginner, I would suggest to start with just one cake layer.
- 4. Now take your chilled cake pop and dip it in the melted candy. Gently shake off any excess chocolate.
- 5. Now you have the base for your cake!
When dry, heat up your pink candy melts and place a small amount of it (with a teaspoon) on top of the cake pop to make a cool drip.
To arrange your pink candy melts so it looks like a drip, I use a teaspoon. All you have to do now to make it look all even, is to shake the cake pop a little, just until the candy melts run down a little and look all smooth.
Have a look at my Instagram Video, then you’ll know exactly how to do it.
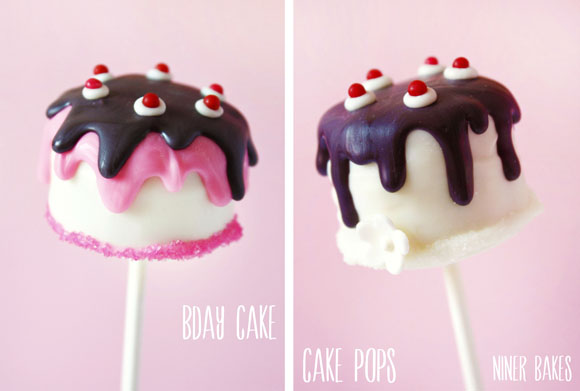
Or read this blogpost where I will show you photos on how to make drips on cake pops. - 6. When the pink candy melts are all dry, you can attach another drip on top of the pink drip (but make sure the drips are totally dry!), with dark chocolate or black candy melts; this will imitate the ganache :) Please use the same technique like I have explained in step 5.
- 7. Now run a thin line of candy melts (with a toothpick) on the bottom of the cake pop. Right after that, sprinkle pink sanding sugar all over the line of candy melts. Do that quick because the candy melts will dry quickly.
- 8. Last but not least:
Use a toothpick and attach 6 dots of white candy melts on the top of the cake. While still wet, place 6 red sprinkles (use tweezers for that) on top of each white dot of candy melts, these will be your cherries :) You can also leave out the pink candy melts and decorate a rather classic design with just white and black candy melts, this is all up to you.

Note: If the candy melts are not smooth enough, please add a tiny bit of vegetable oil until you reach your desired consistency. For further questions, visit my Troubleshooting Guide
Additional highlights:
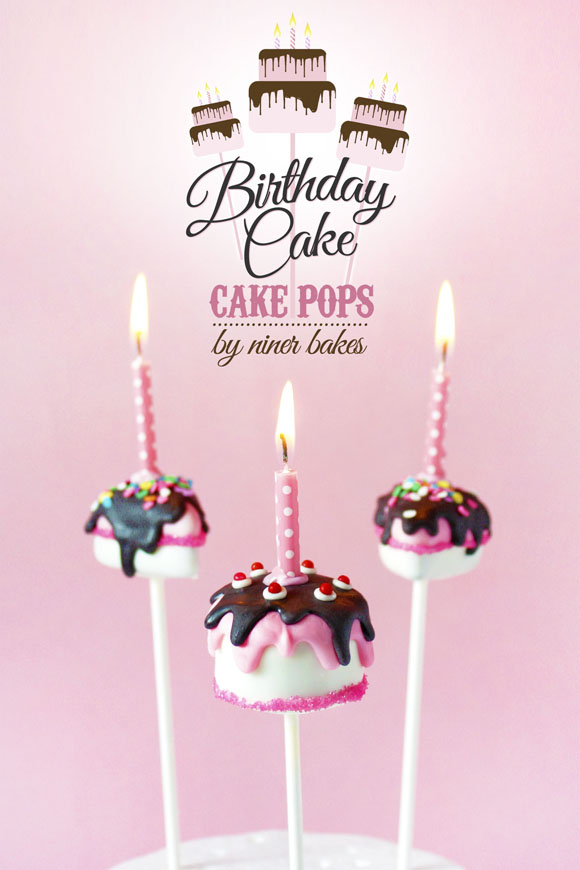
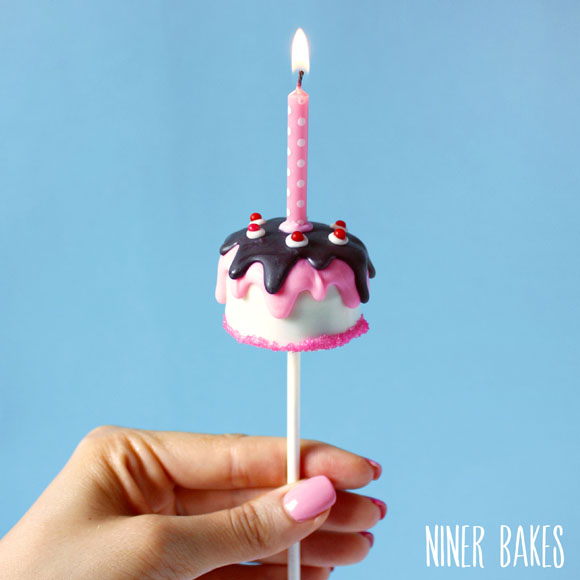
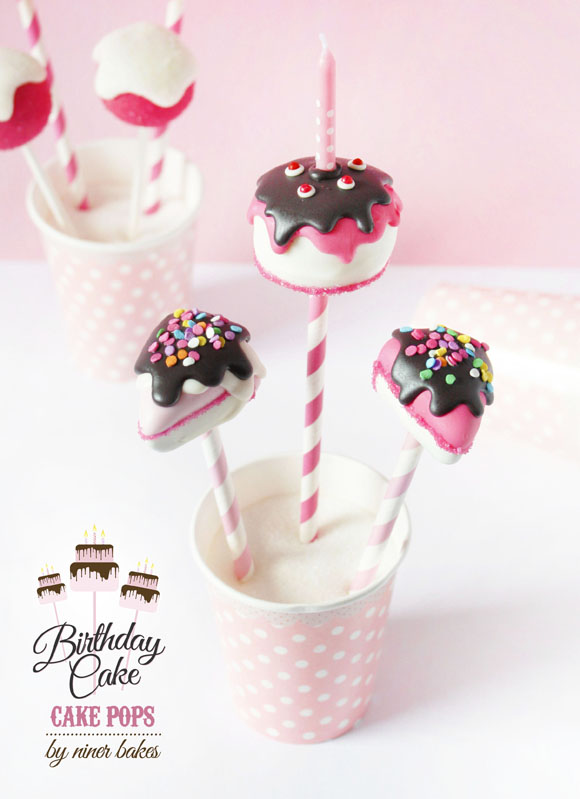
Attach mini birthday candles to the cake pops, light them up so the birthday child can blow them out :)
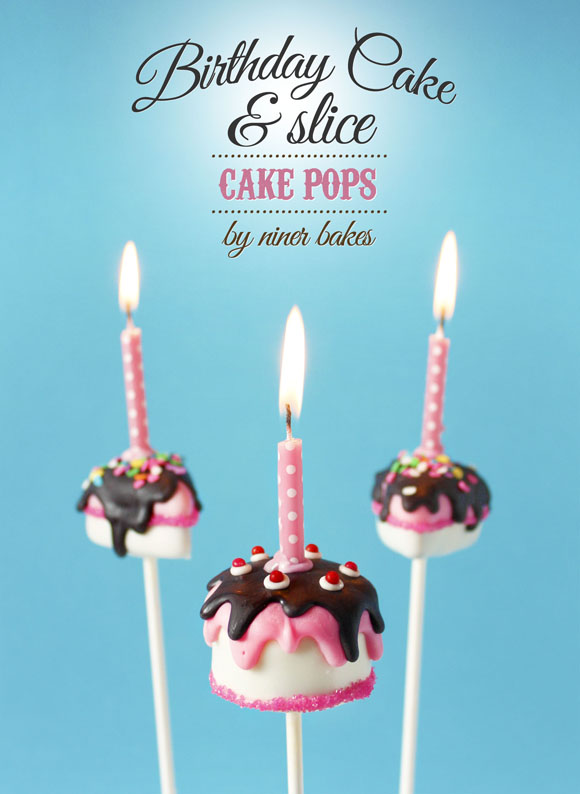
And you’re done!
Let’s move on with the SLICE CAKE POPS…mhmmmm
- Prep Time 20 minutes
- Baking Time 10 minutes in freezer / 30min in refrigerator
- Difficulty Medium
For the Slice Cake Pops:
- Ready made Cake Pops – if you need a recipe and a visual tutorial, click here.
- microwave safe bowl
- Candy Melts of your choice
- paper straws for a cuter look or regular lollipop sticks
- sharp knife
- pink sanding sugar
- Confetti Sprinkles
- Toothpicks
- styrofoam block for cake pops to dry
- Mini Birthday Candles (use candy melts as glue to attach the candles)
- Lollipop plastic covers
- ribbon for tying
Additional Items you may want to get:
Note:
If problems occur while making cake pops, please read my Cake Pops 101 Troubleshooting Guide – maybe you’ll find the answer to your problem!
- Prepare your cake pop mix as described in the first tutorial above.
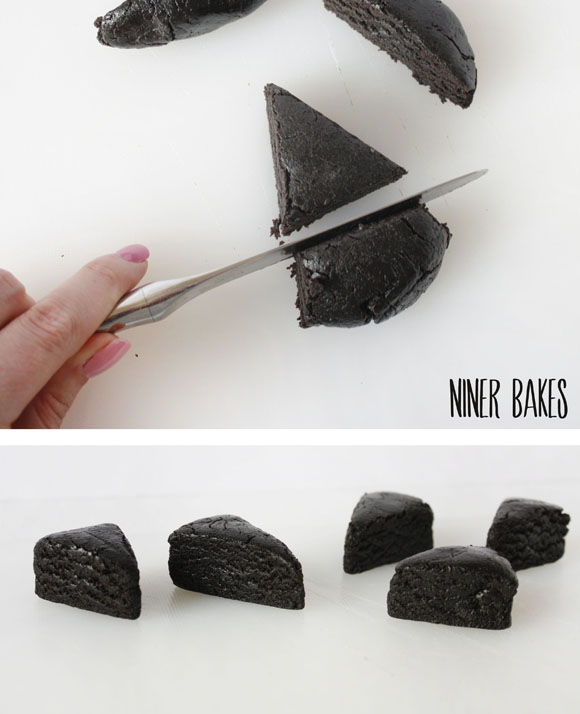
- 1. After preparing your cake pop mix (get a recipe here), form a rather big ball of the mix and press it down a little. Now cut out slice shapes with a knife (see photo below). Repeat this step, and let all of your slices chill in the refrigerator for at least 20 minutes (or 10 minutes in the freezer) to firm up.
- 2. Now melt your candy wafers in your microwave in 30 seconds intervals.
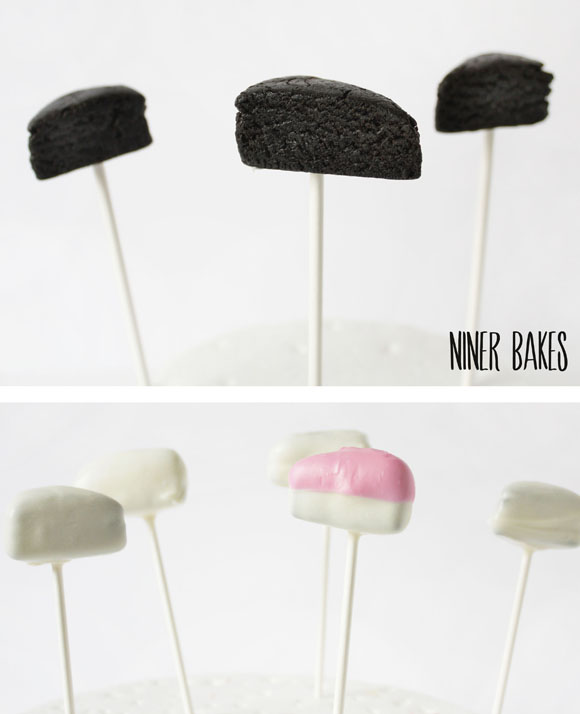
- 3. Dip a little bit of the lollipop stick (or paper straw) in the melted candy, then stick the lollipop stick in the Cake Pop (half way and put the pops back in the refrigerator to firm up so the chocolate can set inside the cake pops. (Especially in summer!)
- 4. Now take your chilled cake pop and dip it in the melted candy. Gently shake off any excess chocolate.
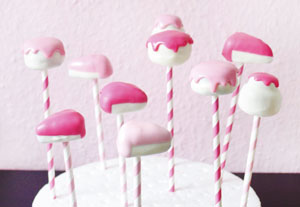
- 5. When dry, heat up your pink candy melts and dip the slices in the pink candy melts (only half way!). Let it all dry again.
Now run a thin line of candy melts between both colors (in the middle of the slice, where white meets pink). Right after sprinkle the line with pink sanding sugar. Make sure to do this quick because the thin line of candy melts dries real fast. Repeat with all cake pops. - 6. When it’s all dry, you can decorate cute drips again! Our slices will get a cute ganache drip (just like explained in the first tutorial above).
(Instagram Video Demonstration – niner bakes)
Place a small amount of black candy melts or dark chocolate on top of the slice.
Or visit this blogpost on my blog which includes photos on how to do it. - 7. Before the drip dries: Sprinkle the drip with confetti sprinkles. Ain’t nothing like confetti sprinkles, so so cute and fun!
Note: If the candy melts are not smooth enough, please add a tiny bit of vegetable oil until you reach your desired consistency. For further questions, visit my Troubleshooting Guide

Additional highlights:
Attach mini birthday candles to the cake pops, light them up so the birthday child can blow them out :)
Present your Cake Pops:
Stick your Birthday Cake Pops in cute Polka Dot Beverage Cups.
Decoration-Credits & Shopping Links:
- Pink party candles, Cupcakelook.com
- Polka Dot Cups, Cupcakelook.com
- paper Straws, Cupcakelook.com
- Pompoms, PomPom Manufaktur
If you are making these, I would LOVE to see them!
Please share them on my facebook wall or in the comment section below so I can show all of my readers!
Have a great rest of the week and to everyone who has a birthday today:
HAPPY BIRTHDAY!
niner


")


oh these are wonder ful ninerl! they make me happy :>D
happy birthday to all you 19 million people out there! hope someone makes these awesome treas for you!
LOVE THEM!!! Niner you simply rock!!! :) Greetings from sLOVEnia
OH MY!!!! Niner you are so so SO sweet! I am so lucky to have you as a friend! Thank you for the birthday wishes – made me feel so good! xoxoox
They are the cutes cake pops. So sweet of you to show us how to make them ????
I love these! Great job.
These are way too adorable!
Die sind ja cool! Tolle Idee! Das muss ich nachmachen. Vor allem die, mit den Kerzen drauf! ?
Liebe Grüße
Barbara
Ganz lieben Dank, Barbara :)
Viel Spaß beim Nachmachen und alles Liebe,
niner
Hallo lieber Niner! Die Pops sind echte Schmuckstücke…:)
Wie macht man das mit dem “Drip”? Schmilzt man etwas Kuvertüre oder Candy Melt, gibt es dann auf den Pop und schüttelt? Läuft das ganze dann nicht herunter? Oder verstehe ich hier was falsch?
Hi Laura,
du hast das ganz richtig verstanden.
Natürlich darf die Kuvertüre nicht allzu flüssig sein, sonst läuft sie komplett runter. Daher eignen sich Candy Melts hervorragend, die sind ja nicht so dünnflüssig wie Supermarkt Kuvertüre.
Alles Liebe und danke für die lieben Worte.
what type of frosting did u use to make the the “frosting” ?! love itt
Hallo Niner,
Bin total begeistert von deiner Seite und weiß jetzt gar nicht mit was ich anfangen soll – so tolle Ideen!!
Bei den geburtstagstorten-cakepops hab ich eine Frage, wie dick muss ich denn den Teig ausrollen bevor ich die “Torten” aussteche?
Lg annibelle
Liebe Annibelle,
ganz lieben Dank für dein Lob =)
Also ausrollen musst du ihn nicht, eher plattdrücken – so mache ich das immer :)
Alles Liebe,
niner
Liebe Niner, ich finde deine Tortencakepops absolut bezaubernd :) und da ich Anfang Januar selbst Geburtstag feier, habe ich beschlossen diese meinen Gästen zu servieren.
Ich habe ein Frage bezüglich der Masse. Ich möchte so viel wie möglich vorbereiten. Kann ich die fertige Cakepopmasse (ohne Glasur) einfrieren? Vielen Dank für deine Antwort. Liebe Grüße, Lindy