 niner bakes

Oh I am counting the days, guys. Christmas is eve is soon and I am looking forward to it like a little child, year after year and I think it will never change.
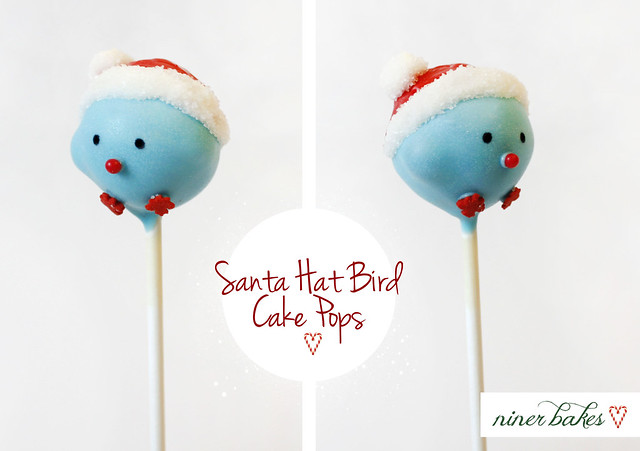
Of course I won’t forget who’s the reason for the season, definitely not Santa Clause – but still, his hat is the main attraction in today’s post =)
For everyone of you who still needs to get some christmas baking done or who is searching for a great christmas gift that is homemade and will make people happy, I think I have something cute for you!
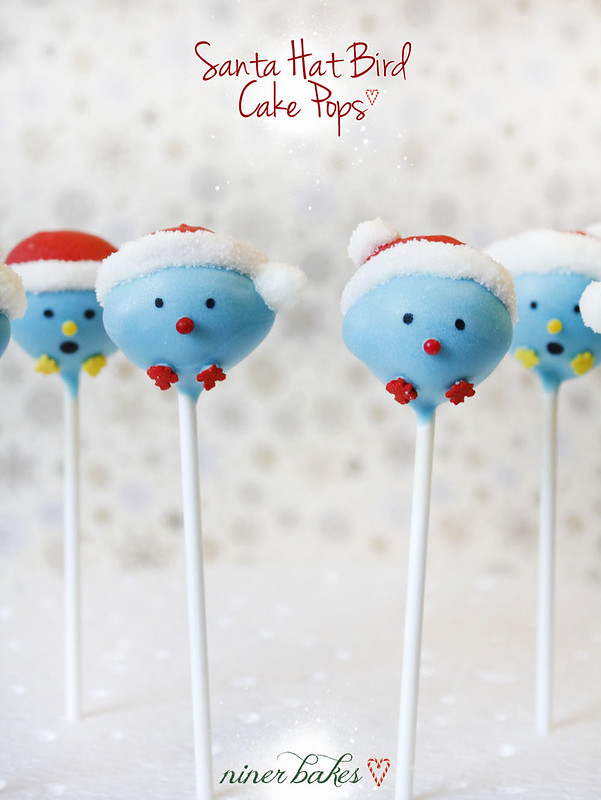
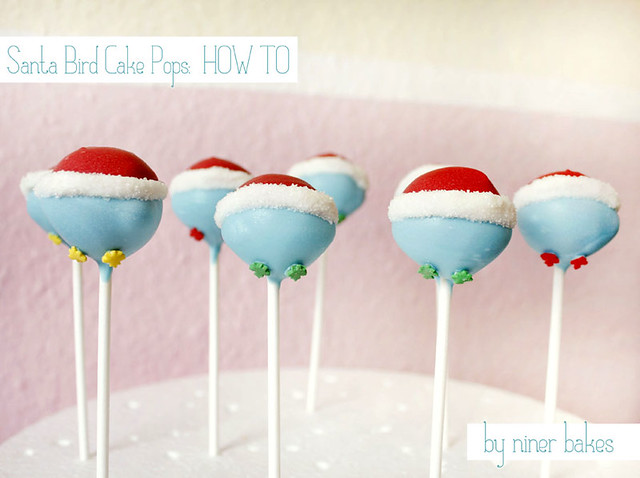
My twitter bird cake pops are very very loved by people, they just look so cute. BUT what if I put a santa hat on their heads? I think they look even cuter!
And those are so good to give away for christmad eve or while you’re on a christmas party with your dearest friends.
Read on to see the tutorial with how-to photos so you guys can hopefully make those without a problem.

- Prep Time 20 minutes
- Baking Time 20 minutes in refrigerator
- Difficulty Advanced
For the Santa Hat Birdie Cake Pops:
- Please prepare your cake pops as you normally do or use the ingredients and follow these instructions for the OREO kind:
- 1 package OREO cookies or for Europeans: 3 and a half packages a 176g
- 1 8oz. package cream cheese (I use 176g packages, 6.2 ounces)
- Wilton red Candy Melts (for the hat)
- Wilton White Candy Melts (for the hat)
- Blue Candy Melts (for the body)
- Lollipop Sticks
- Or red/white striped paper straws (for an even cuter look!)
- Or Polka Dot Paper Straws in Red & White
- white sanding sugar (more sparkling) or regular sugar
- Chocolate chips (for the wings)
- huge white candy balls (hat’s ball)
- toothpicks
- Americolor edible ink food pen
- Autumn Leaf Sprinkles (or stars, flowers, any type of candy sprinkles that can be the birdies feet)
- colorful round sprinkles for the noses
- tweezers
Additional Items you may want to get, makes a nice gift:
- Lollipop plastic covers, to give away
- ribbon for tying, to give away
- thin red ribbon to tie around basic white lollipop stick (this way you do not need red/white paper straws)
- Now we are all set and ready to go: Prepare yourself before you actually start. Get everything out on the counter you need, so you do not stress yourself in the middle of the decorating process :-)
- 1. Now, make the NO BAKE Cake Pops: Grind your OREO cookies to fine crumbs in a Food Processor
- 2. Put the crumbmix into a boal and hand mix with cream cheese. I use gloves though, because it gets messy :-) Especially when you have longer nails, it takes a while to be “oreo/creamcheese-free” again. So just use gloves, or when you have kids, I am sure they would love to help you with this step :-)
- 3. Keep in mind that the dough should have the consistency of play-dough.
- 4. Roll the dough into balls, then refrigerate them for at least 10 minutes to firm up.
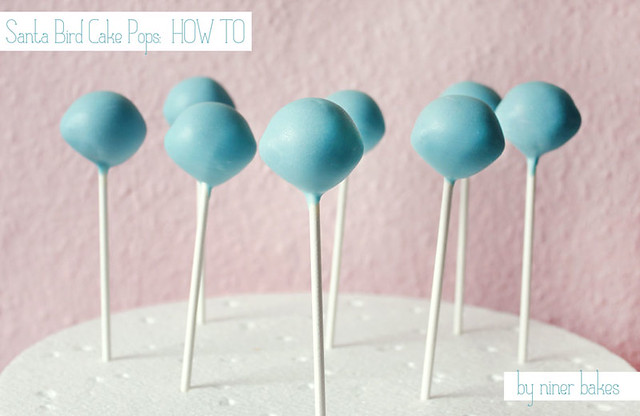
- 5. Now melt your blue candy melts.
- 6. Dip a little bit of the Lollipop Stick in the melted candy, then stick the Lollipop Stick in the Cake Pop (half way). Let the Pops rest a bit in a styrofoam block or cake dummy so the candy melts set within the cake pop.
- 7. Place the chocolate drops on each side of the cake pops (use blue candy melts as glue and use a toothpick) – let dry.
- 8. Now dip the Cake Pop in the blue candy melts and repeat with all cake pops – let them dry.
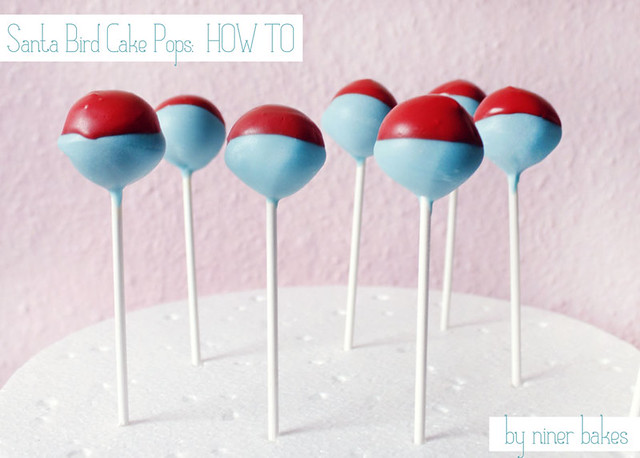
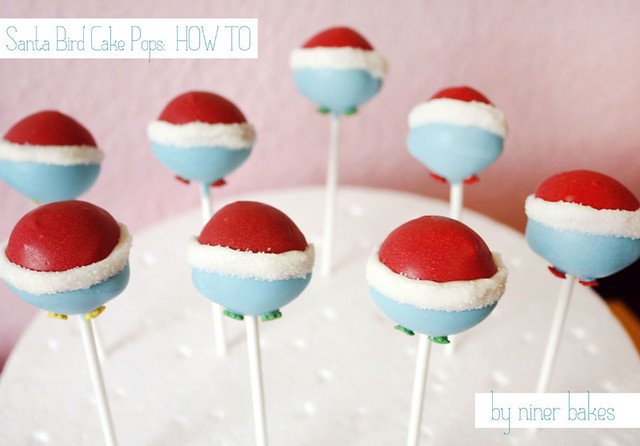
- 9. Heat up your red candy melts in a microwave-safe bowl and dip the blue cake pop about 1/3 (top) into the red candy melts (see photo) and let dry in styrofoam block. They all wearing a bathing cap now =) But not for long!
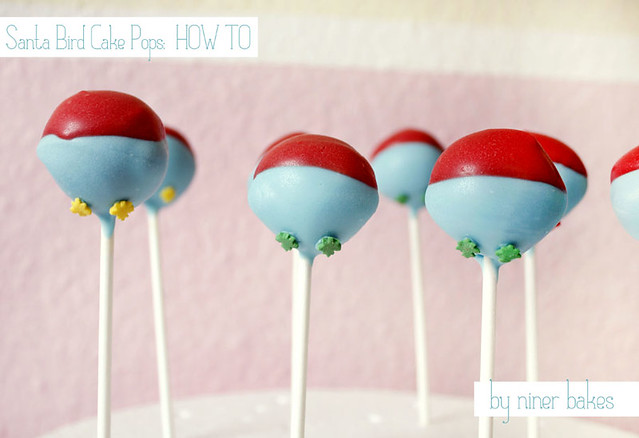
- 10. Now place two dots of blue candy melts with a toothpick on the spots where you want to place the birds feet. Take your tweezers to attach the autumn leafs sprinkles for the feet.
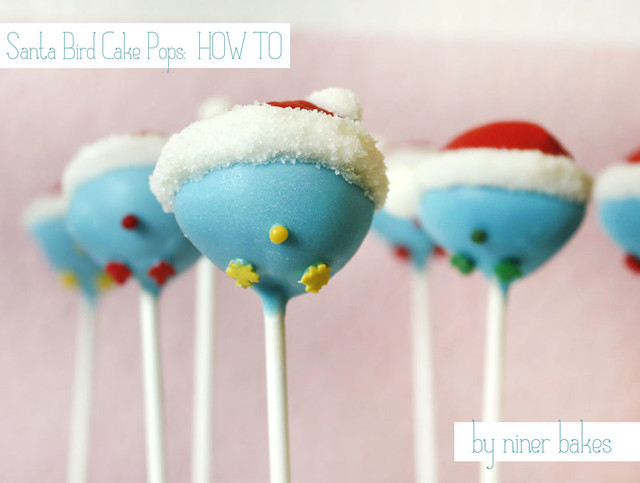
- 11. Now it is time to finish the santa hat. With a toothpick, apply white candy melts at the base of the Santa Hat, do that quick before the candy melts dry, immediately after sprinkle white sanding sugar on top of it (I recommend to do that over a huge bowl)
- 12. With a toothpick, apply a tiny amount of blue candy melts for the nose and attach nose sprinkles (color of your choice).
- 13. Almost done, now apply a little bit of white candy melts for the ball of the hat, attach your white candy ball (sixlet). After it was dry, I applied more white candy melts around the candy ball and sprinkled white sanding sugar on top, I liked that look a little better since my candy balls were a little too small.
- 14. Now dot the eyes with your food pen, and you are done, yay! =)
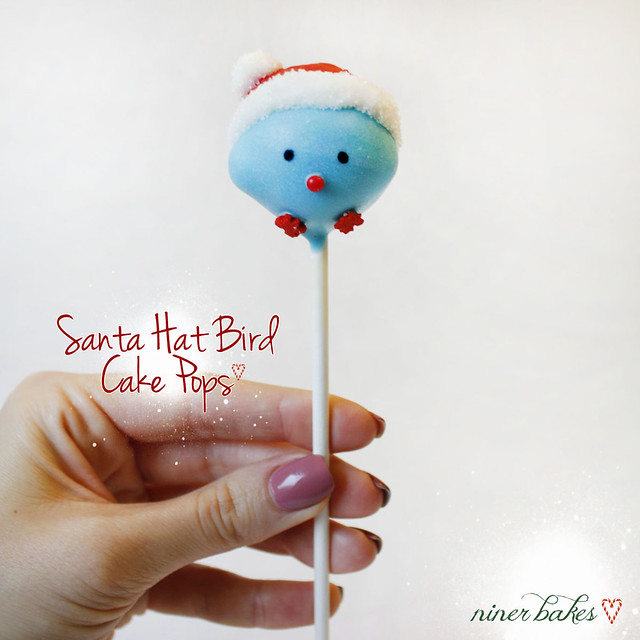
I love mug shots of Cake Pops.
I was just listening to Michael Bublé’s “Ave Maria”, basically to his whole Christmas Album, which is perfect for Christmas time and for writing such a x-mas’y blogpost =)

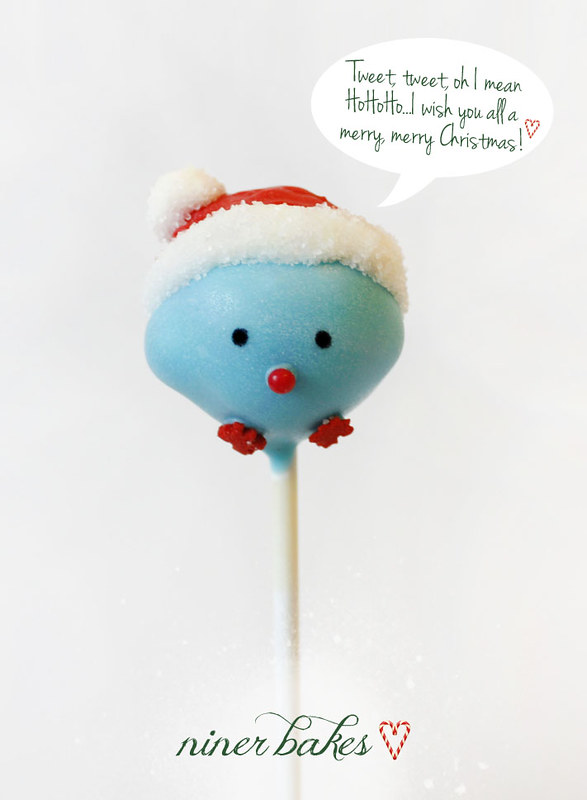
Wishing you all a merry, merry christmas and a great time celebrating jesus’ birth. Enjoy the quiet and peaceful time with your family and friends.
Many blessings,
niner


")


Oh, Niner, they are just TOO CUTE! I really want to make them, but I’m in Paris now. (I did bring some candy melts and lollipop sticks with me. We’ll see if it works out, as I am also making a big Christmas dinner for eight people.)
Congratulations on a terrific blog post!
Thanks so much, miss !! Wow Paris, I wish you such a great time. Please dont stress yourself too much with everything. I hope though that you guys could still make a couple of cake pops =)
Many blessings and a wonderful christmas eve tonight, to you and your family.
niner
SO SO cute! And wonderful tutorial, can’t wait to try these! I absolutely love your work :)
Thanks so much Michelle, send me your photo to my Facebook Wall so I can add it to my Blogreaders album :)
Have a blessed Friday!