Hi there ladies and gents,
I don’t know about you and the weather where you are at but here in Germany it is raining non stop. It is cold too. We basically had winter, then fall again. No spring in sight, it is almost June and I am wearing a hoodie and a jacket and still, I am freezing.
Hopefully summer will show up in July!
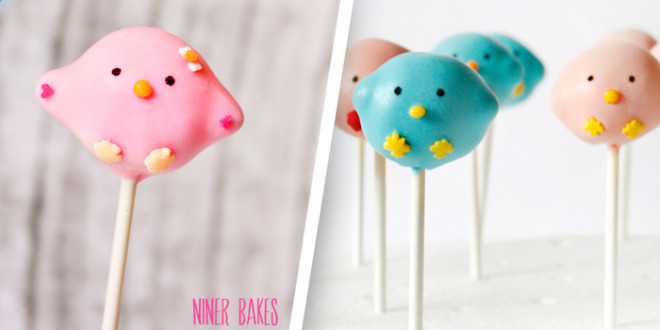
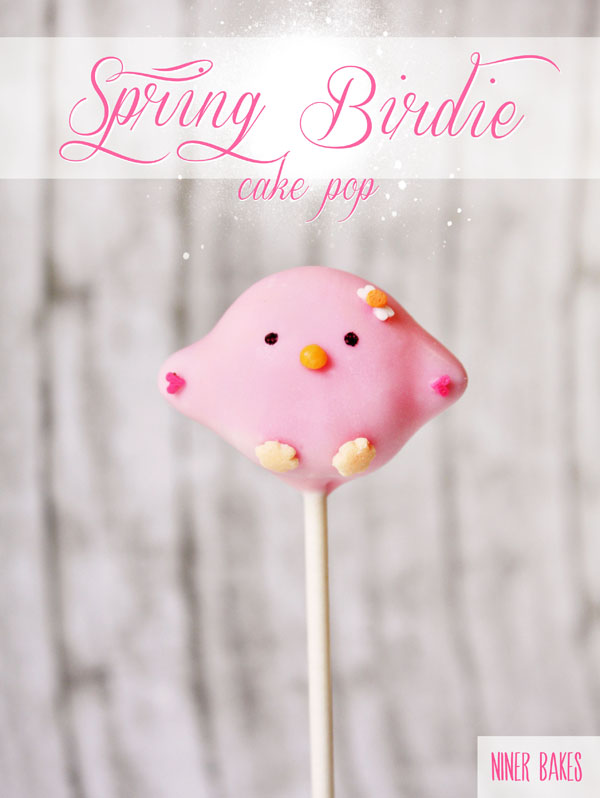
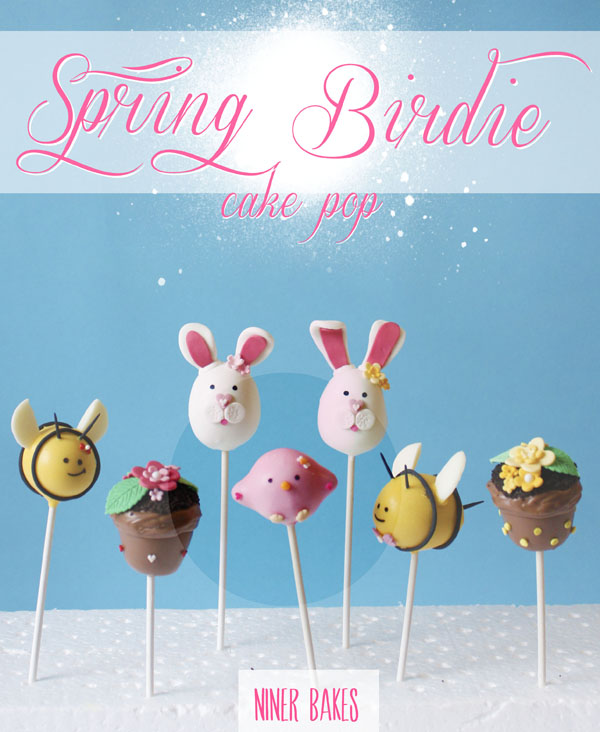
Let’s chear eachother up with these cuties right here, birdie cake pops:
Those are classics as well, just like the Smiley Cake Pops I posted about last week.
Today I will show you how to make them.
They are very easy to make, good news!
- Prep Time 20 minutes
- Baking Time 10 minutes in freezer / 30min in refrigerator
- Difficulty Easy
For the Cake Pops:
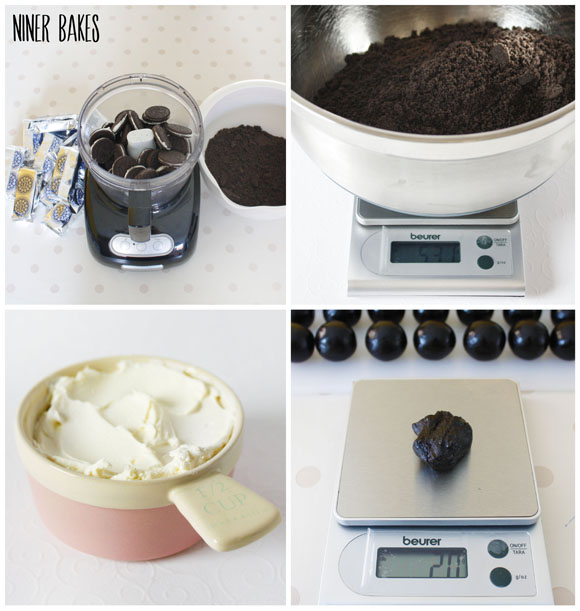
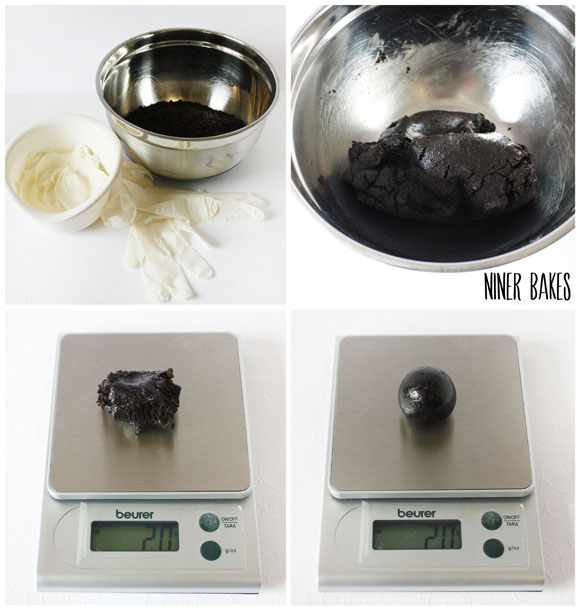
- 48 Oreo cookies (the crumbs weigh around 530 grams)
- 8 oz. Philadelphia Cream Cheese, you will need half the package, that is 110-120 grams
- microwave safe bowl
- Candy Melts of your choice
- Lollipop Sticks
- digital scale to weigh each cake ball (20g)
- Flowers, Stars or Autumn Leaf Sprinkles (any candy to use for the feet)
- colorful round sprinkles (for the nose)
- Chocolate Chips (for the wings) or simply use the oreo mix for that
- Toothpicks
- Tweezers
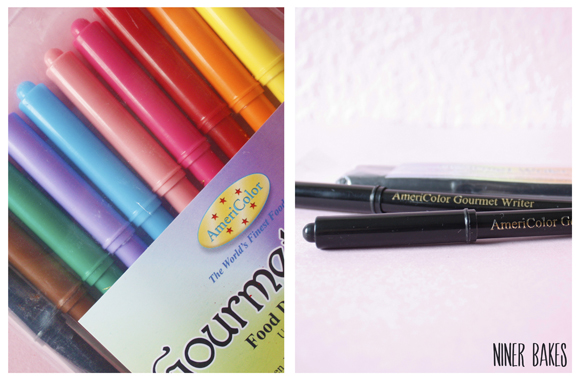
- Edible Food Pen (Americolor)
Alternative:
– black candy melts + toothpick to put on faces
– black food coloring + thin paintbrush to paint on faces - Lollipop plastic covers
- ribbon for tying
Additional Items you may want to get:
Note:
If problems occur while making cake pops, please read my Cake Pops 101 Troubleshooting Guide – maybe you’ll find the answer to your problem!
- Prepare yourself before you actually start.
Get everything out on the counter you need, so you do not stress yourself in the middle of the decorating process. - 1. Now, make the NO BAKE Cake Pops: Grind your Oreo cookies to fine crumbs in a food processor
- 2. Put the crumbmix into a boal and hand mix with cream cheese, add it bit by bit. I use disposable gloves, because it gets messy. Especially when you have longer nails, when you have kids, I am sure they would love to help you with this step.
- 3. Keep in mind that the dough should have the consistency of play-dough.
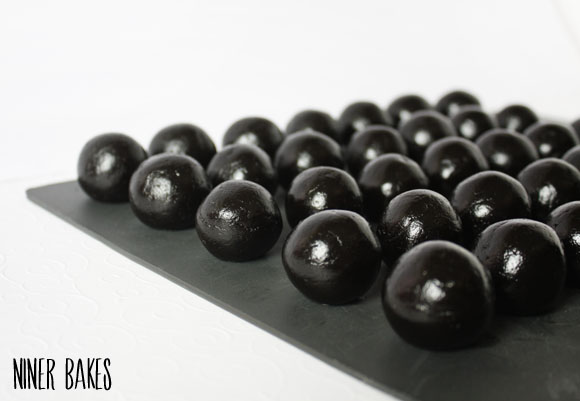
- 4. Roll the dough into 1″ balls or weigh them, which I recommend (20g), then refrigerate them for at least 30 minutes to firm up, or put them in the freezer for 15 minutes.
- 5. Now melt your candy wafers in your microwave in 30 seconds intervals.
- 6. Dip a little bit of the lollipop stick in the melted candy, then stick the lollipop stick in the Cake Pop (half way and put the pops back in the refrigerator to firm up so the chocolate can set inside the cake pops. (Especially in summer!)
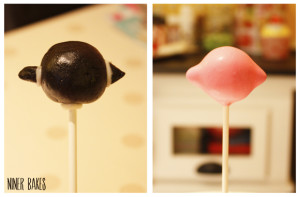
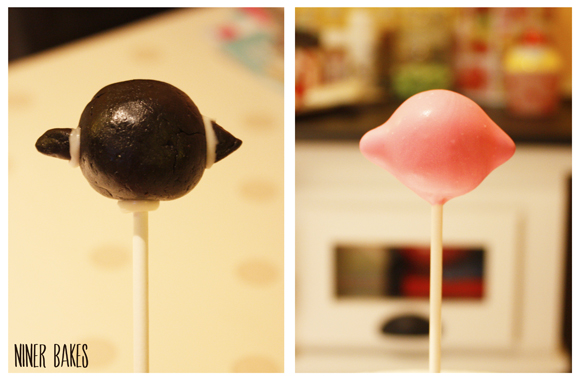
- 7. Now attach the two chocolate chips to the cake pop’s sides (one on each side) using candy melts as glue.
In case you do not have chocolate chips: I used the cake pop mix and added it to the sides as you can see. Wait until dry.
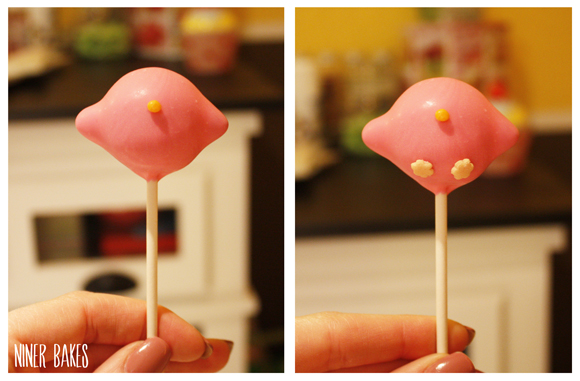
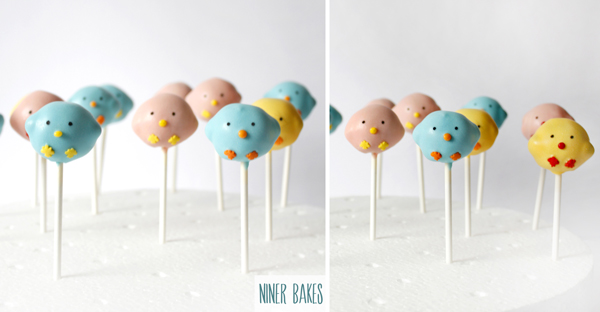
Now take your cake pop and dip it in the melted candy. Gently shake off any excess chocolate. Now you can see the birds shape. - 8. While still wet, attach the nose and feet (sprinkles of your choice) using tweezers.
- 9. Last but not least: Paint the eyes with an edible food pen. If you don’t have one: You can use dark chocolate (melted) to paint the eyes, carefully with a toothpick or thin paintbrush.
For special details:
Use little heart sprinkles as bow etc.
And you’re done!
This cutie right here fits perfectly to all kinds of spring cake pops:
Click here for the following tutorials: Bee & Flowerpot Cake Pops and “Bunny” Easter Cake Pops
You can create these birds for all kinds of occasions. Blue “Twitter” Social Network Cake Pops with cake pop tags for example.
And for Christmas, just add a little santa hat to the birdie and you have a great gift for Christmas!
Have fun making these little birdies, everyone.
Blessings,
niner
 niner bakes






Super sweet to see before I go to bed, Niner! Love all the different versions of them!
Hope you are doing well, I know the weather has been colder and rainier here too… but summer will come soon!
Have a happy day! xo
Thanks so much, Marian.
I loved reading your comment :)
Enjoy your weekend, sweet lady.
XOXO,
niner
Really nice!!!!!!!!!!
Good tutorial and beautiful cake pops.
^_^
Thanks Mirta for stopping by =)
So glad you like them.
XOXO, niner
Wow, deine Cake Pops sehen immer so perfekt aus! Bei mir sehen die nie so schön gleichmäßig aus…
Verwendest du immer Candy Melts? Meinst du man könnte auch Kuvertüre färben?
Ich wünsche dir einen schönen Feiertag!
LG Kathy
Hi Kathy,
du kannst natürlich gern normale Kuvertüre aus dem Supermarkt verwenden, ich mag den Geschmack leider nicht so, daher benutze ich fast nur Candy Melts.
Wenn deine Cake Pops ungleichmäßig aussehen, liegt es bestimmt daran, dass die Melts zu dickflüssig sind. Dazu einfach ein wenig Pflanzenöl hinzugeben, nach und nach, umrühren, bis du eine bessere Konsistenz erreicht hast. Lies doch mal meine Cake Pops Hilfe.
Alles Liebe und viel Glück beim Ausprobieren,
niner
Hi Nina,
Where can you get Americolor pens in Germany? I havent been able to find them anywhere and ive been searching for a year…the ones from RD i hate, they dont work on candy melts at all…thanks!
Zsoka
Hi Zsoka, I know your disappointment way too well.
I usually order them on ebay.co.uk – no extra taxes and it arrives quite quickly. Check it out =)
Enjoy your Sunday, niner
Thanks Nina, i didnt want to order from the states cos the shipping cost is ridiculous…i will check the uk then, thanks for the tip! Have a good sunday too!
hi, i dont find any in the uk that they deliver anywhere but the uk :(. see this is my problem, i havent been able to find them anywhere but the us! how sad :(
These are so very adorable! Such a great idea of using oreo cookies instead of cake :) Thanks for the tutorial! :D
die sehen sooooooooooooooooo süß aus und schmecken meine haben nicht schön ausgesehen : ) :D
how far in advance can you make these?